Convert Youtube Videos to PDFs Using Google Colab on PC
This guide is for the PC. If you are on the Mobile then visit this guide.Watch the Demo Video
Watch the demo video first to see how the web app works.
What You'll Need
You can easily convert YouTube videos to PDF using Google Colab, with just a few simple steps. Here's what you'll need:
Google Account
You'll need a Google account to access Google Colab and Google Drive.
Google Colab
A free, cloud-based Jupyter notebook environment that runs entirely in your browser.
Step-by-Step Guide
Below is the step-by-step process of converting YouTube videos to PDF using Google Colab. Carefully follow each step.
Step 1 Login into Google Account
Make sure you are logged in to your Google account using your preferred web browser. In this guide, we are using Google Chrome, but you can use any browser you are comfortable with.
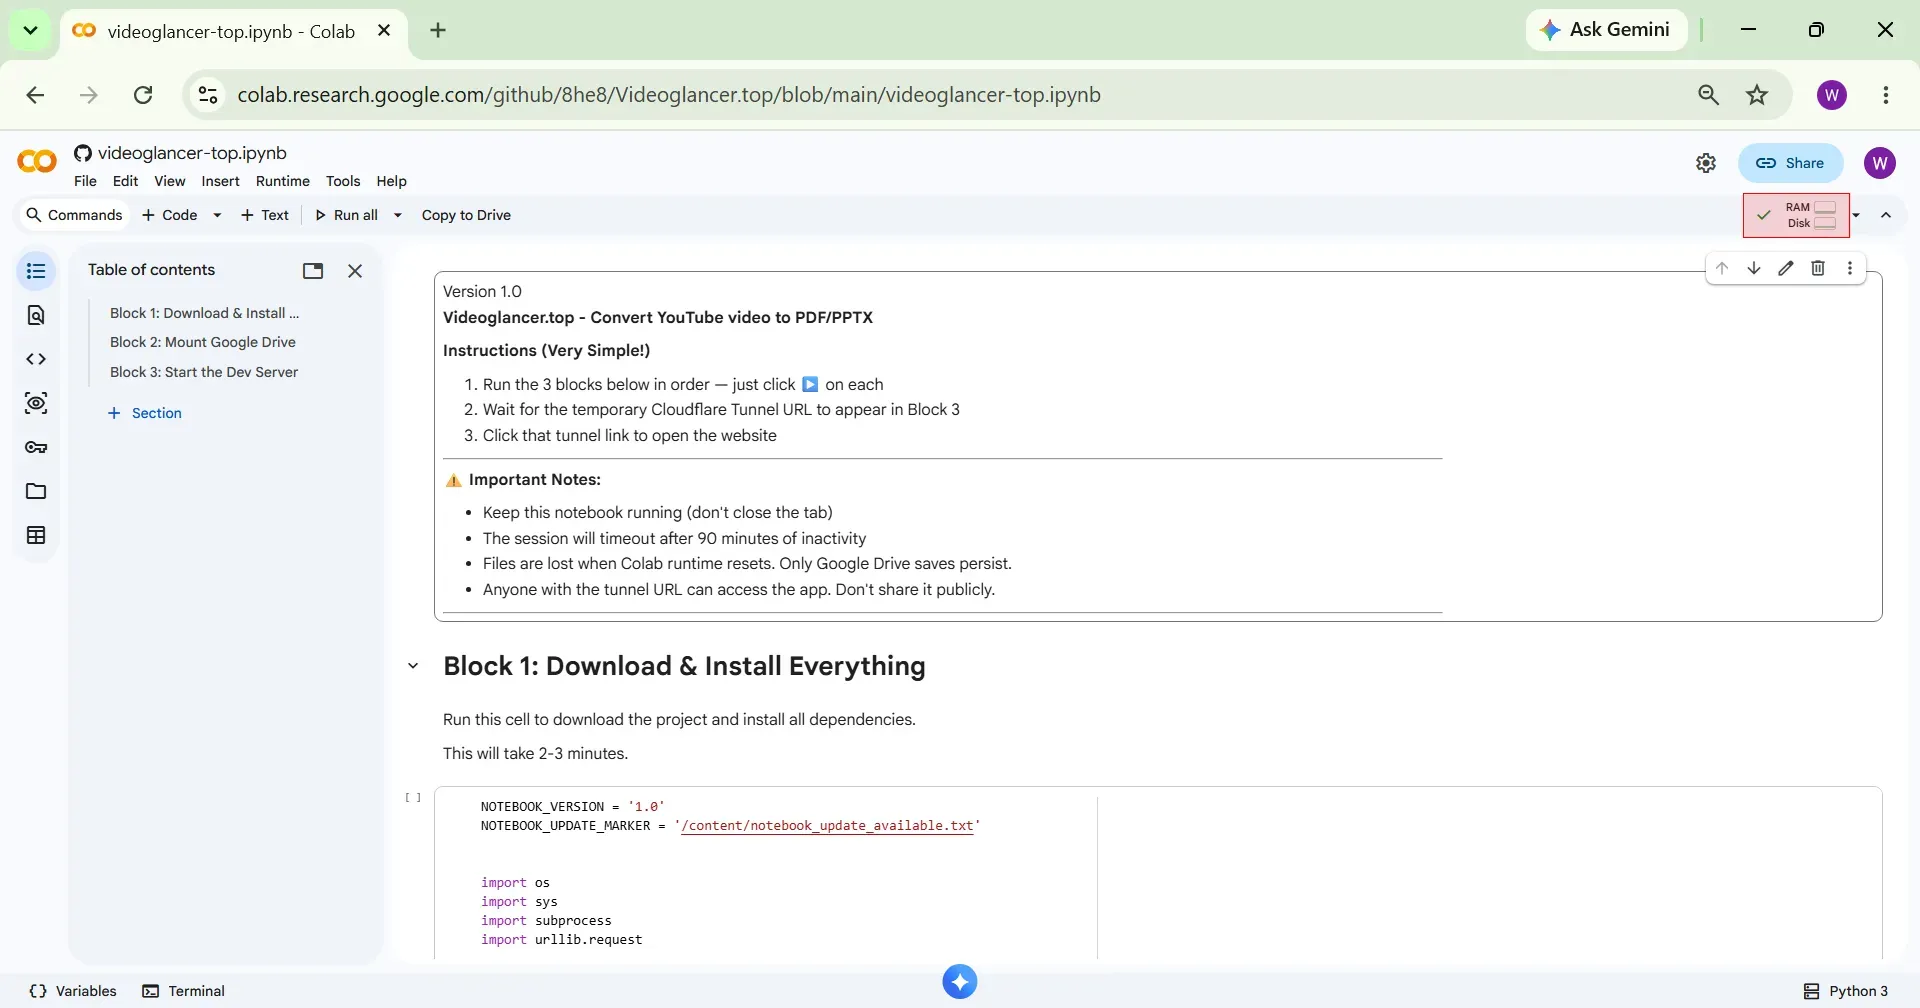
Step 2 Open Google Colab
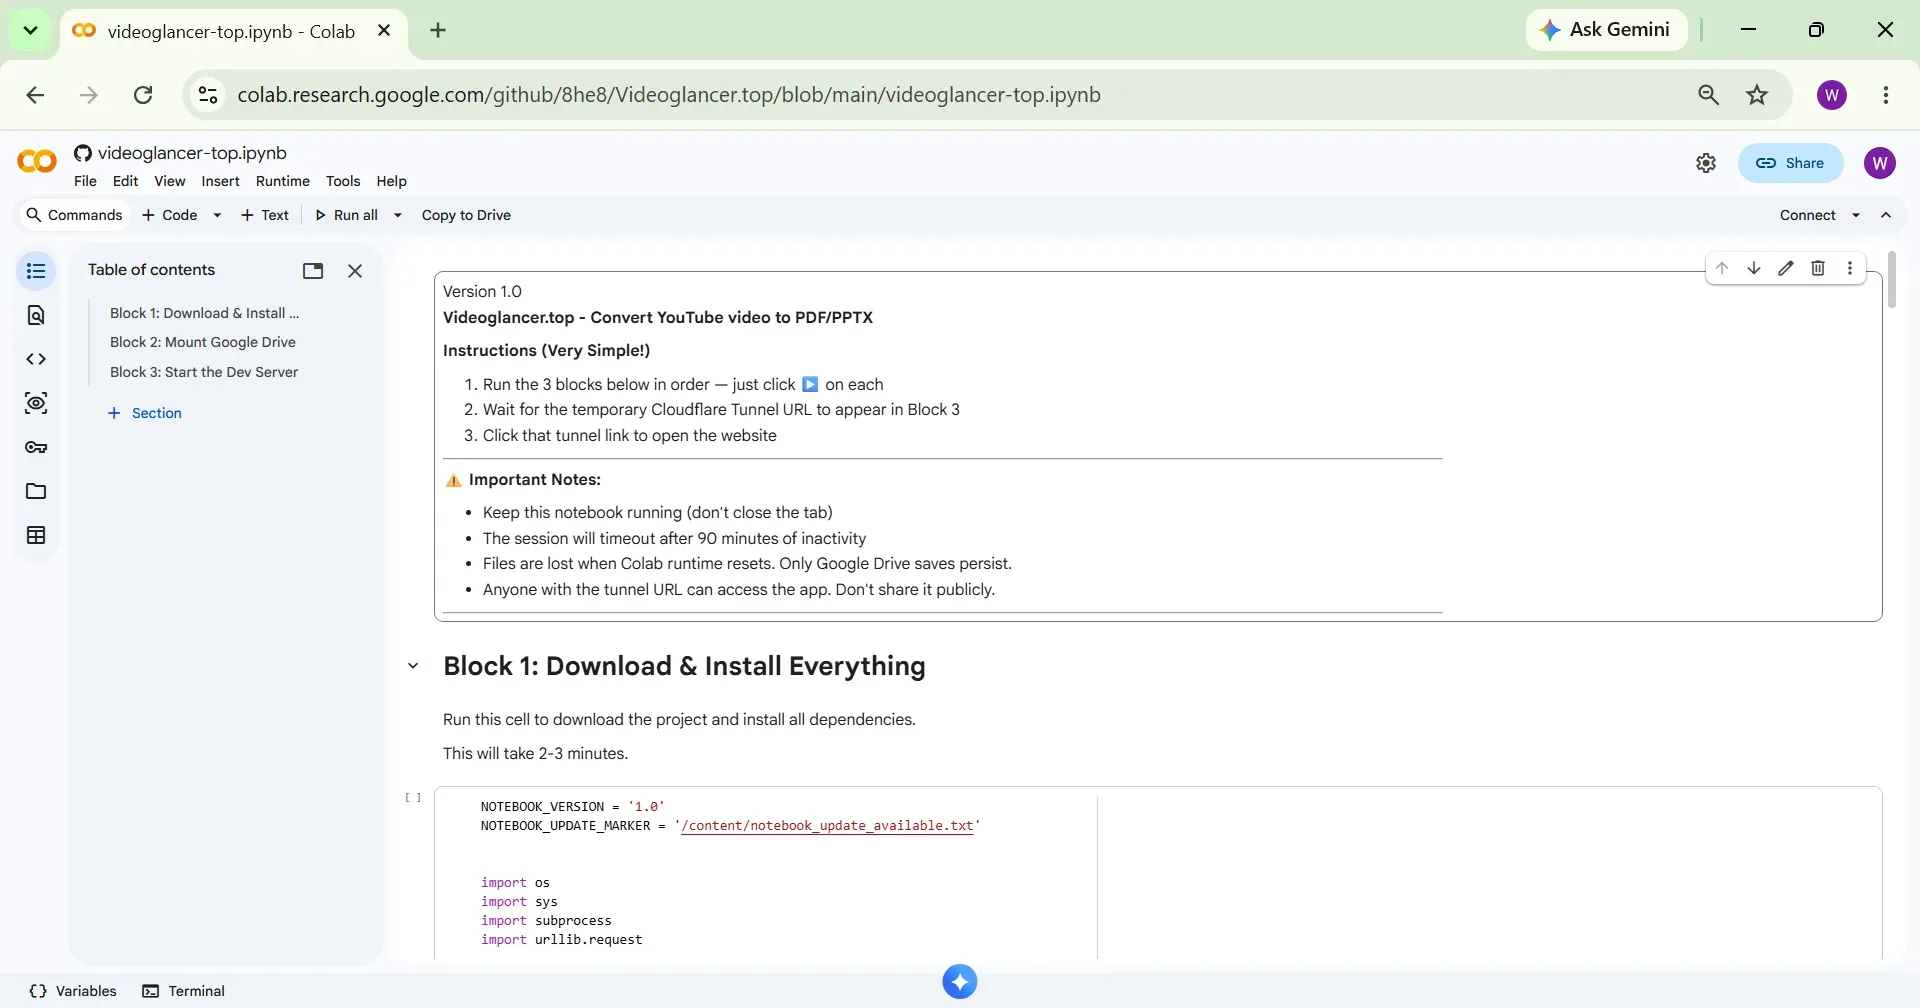
Open Google Colab in a new browser tab by clicking https://colab.research.google.com/. The notebook will automatically load from GitHub.
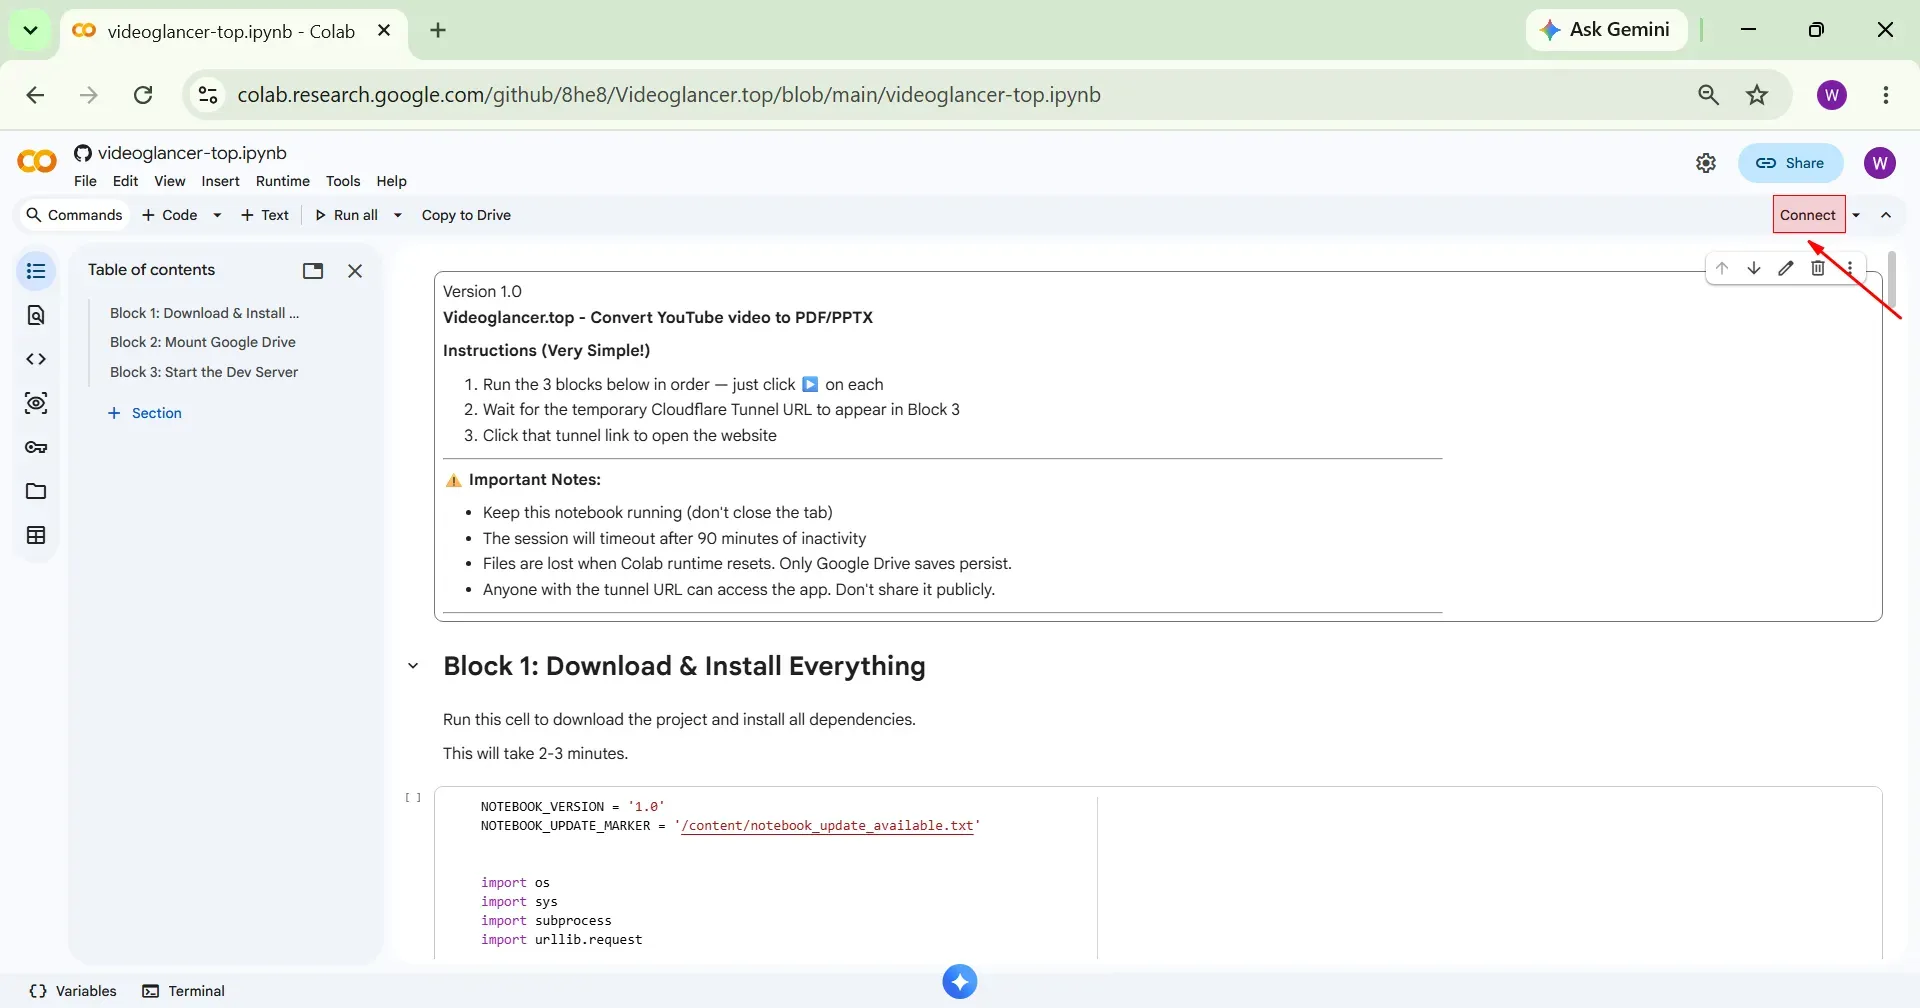
Step 3 Connect to Runtime
Now, first we need to connect to the runtime. To do this, click on Connect.
Wait a few moments for the runtime to connect.
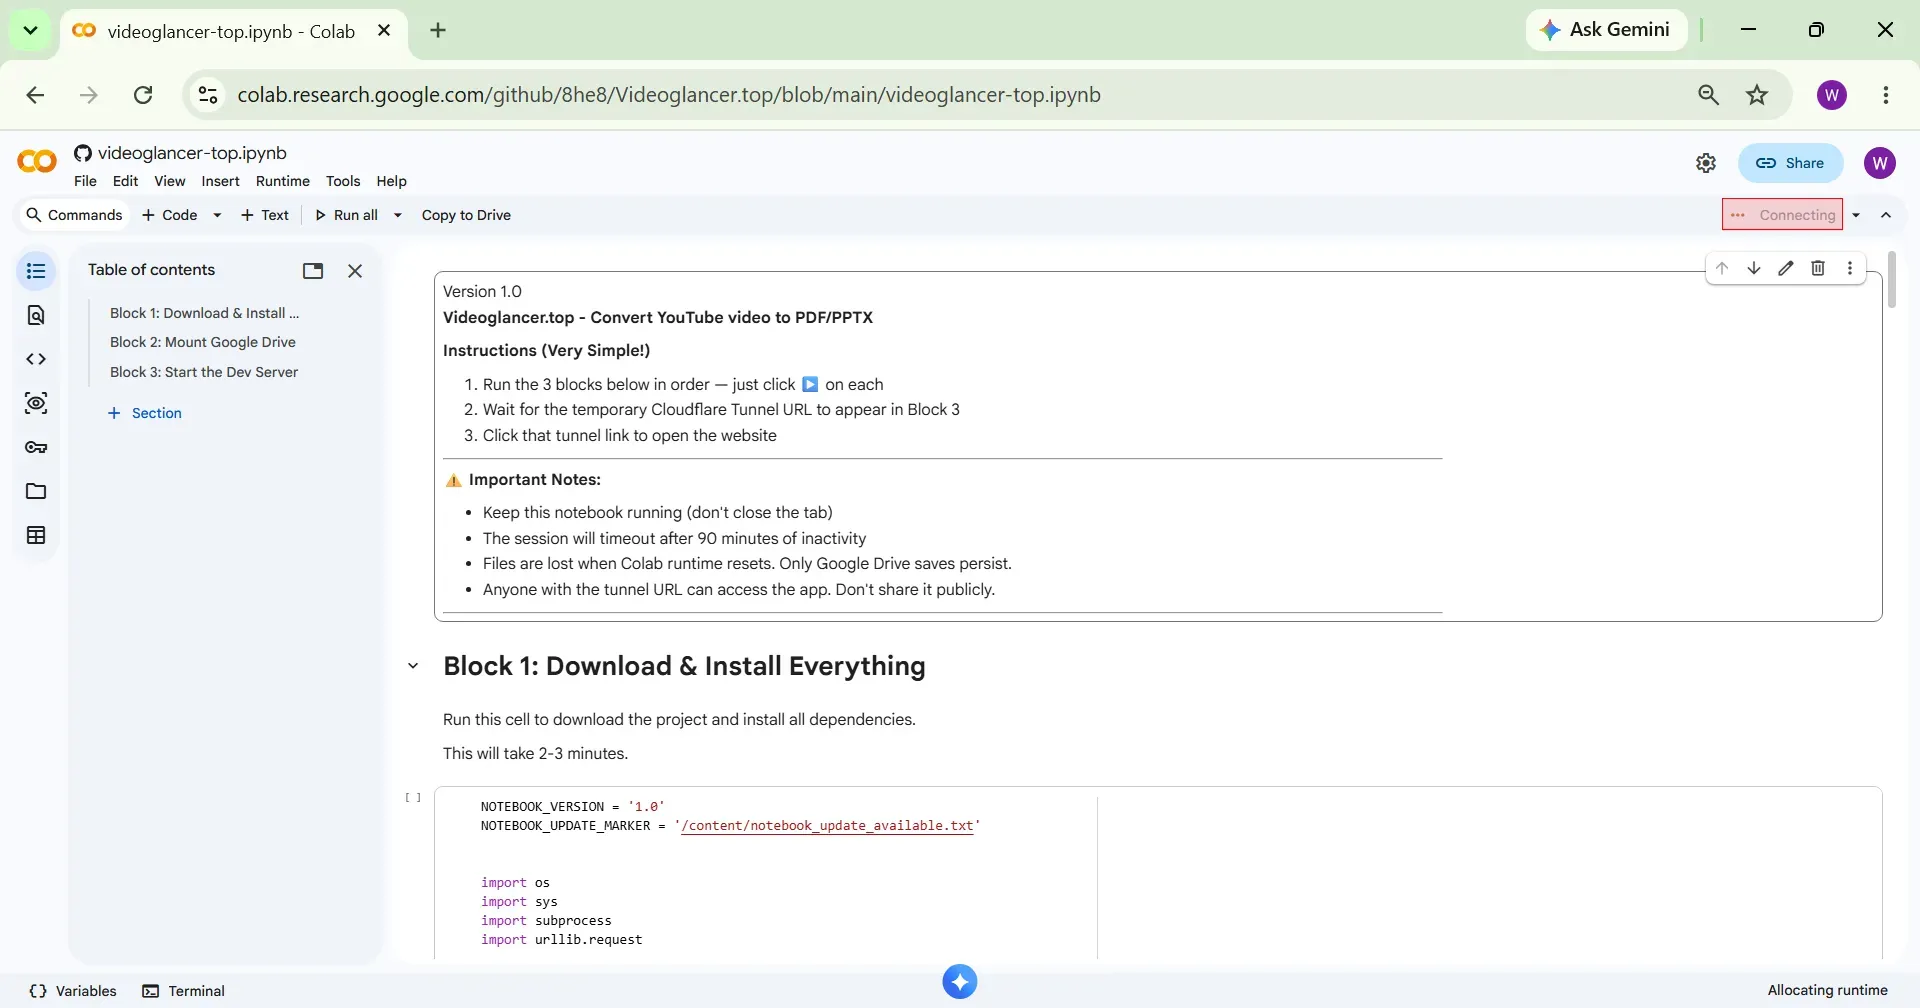
The runtime is now successfully connected, and you have been allocated RAM and Disk storage.
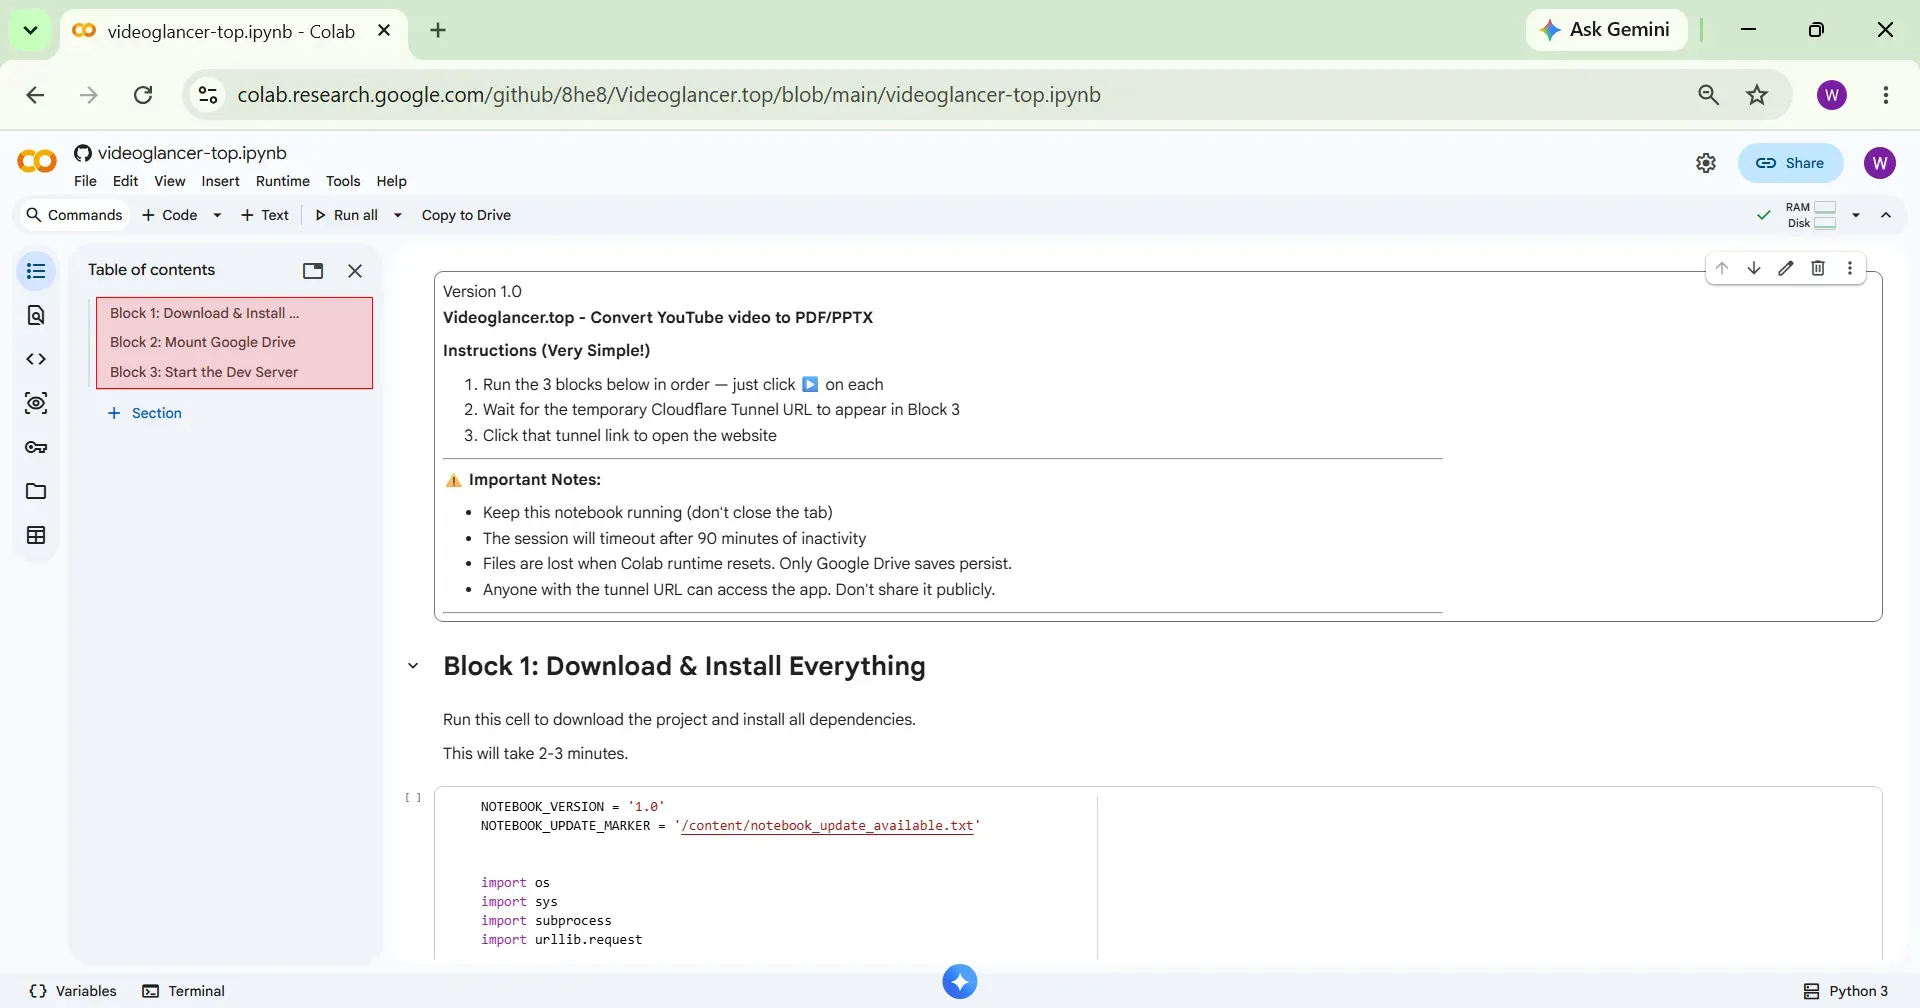
Step 4 Execute Code Blocks
The notebook has total 3 code blocks. You need to execute them one by one, in order.
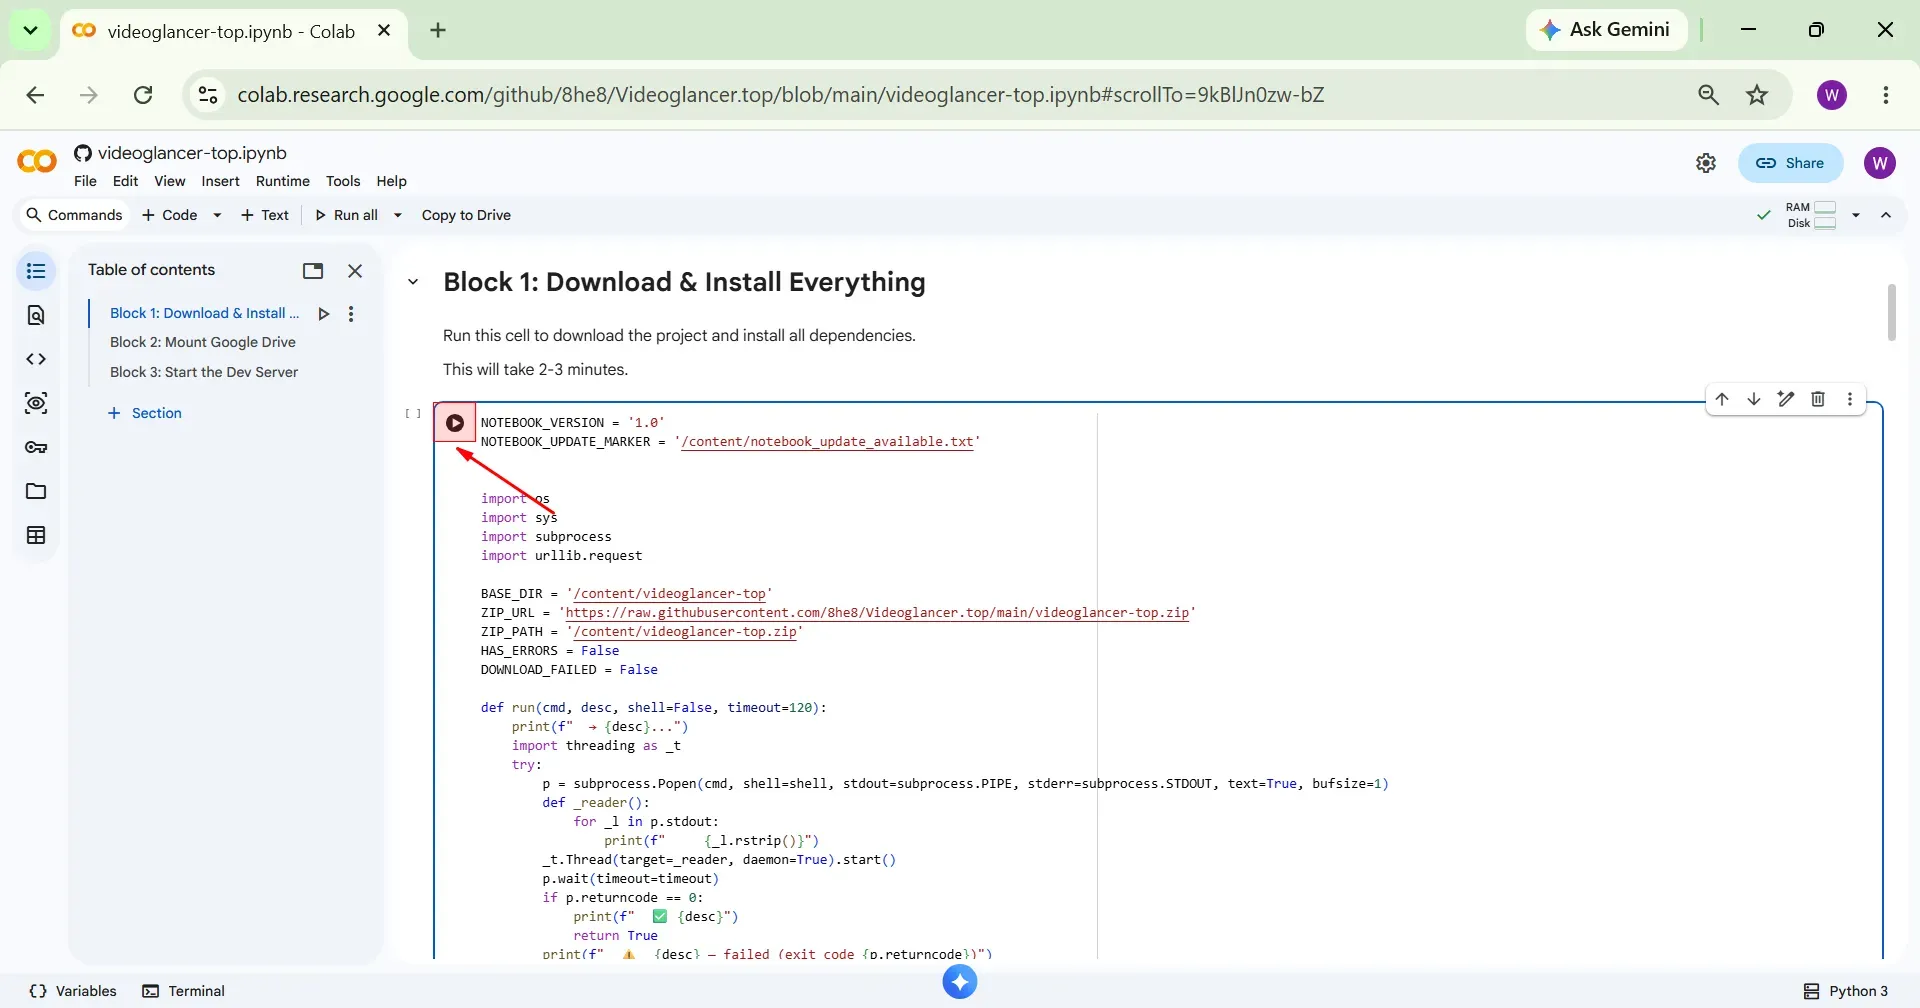
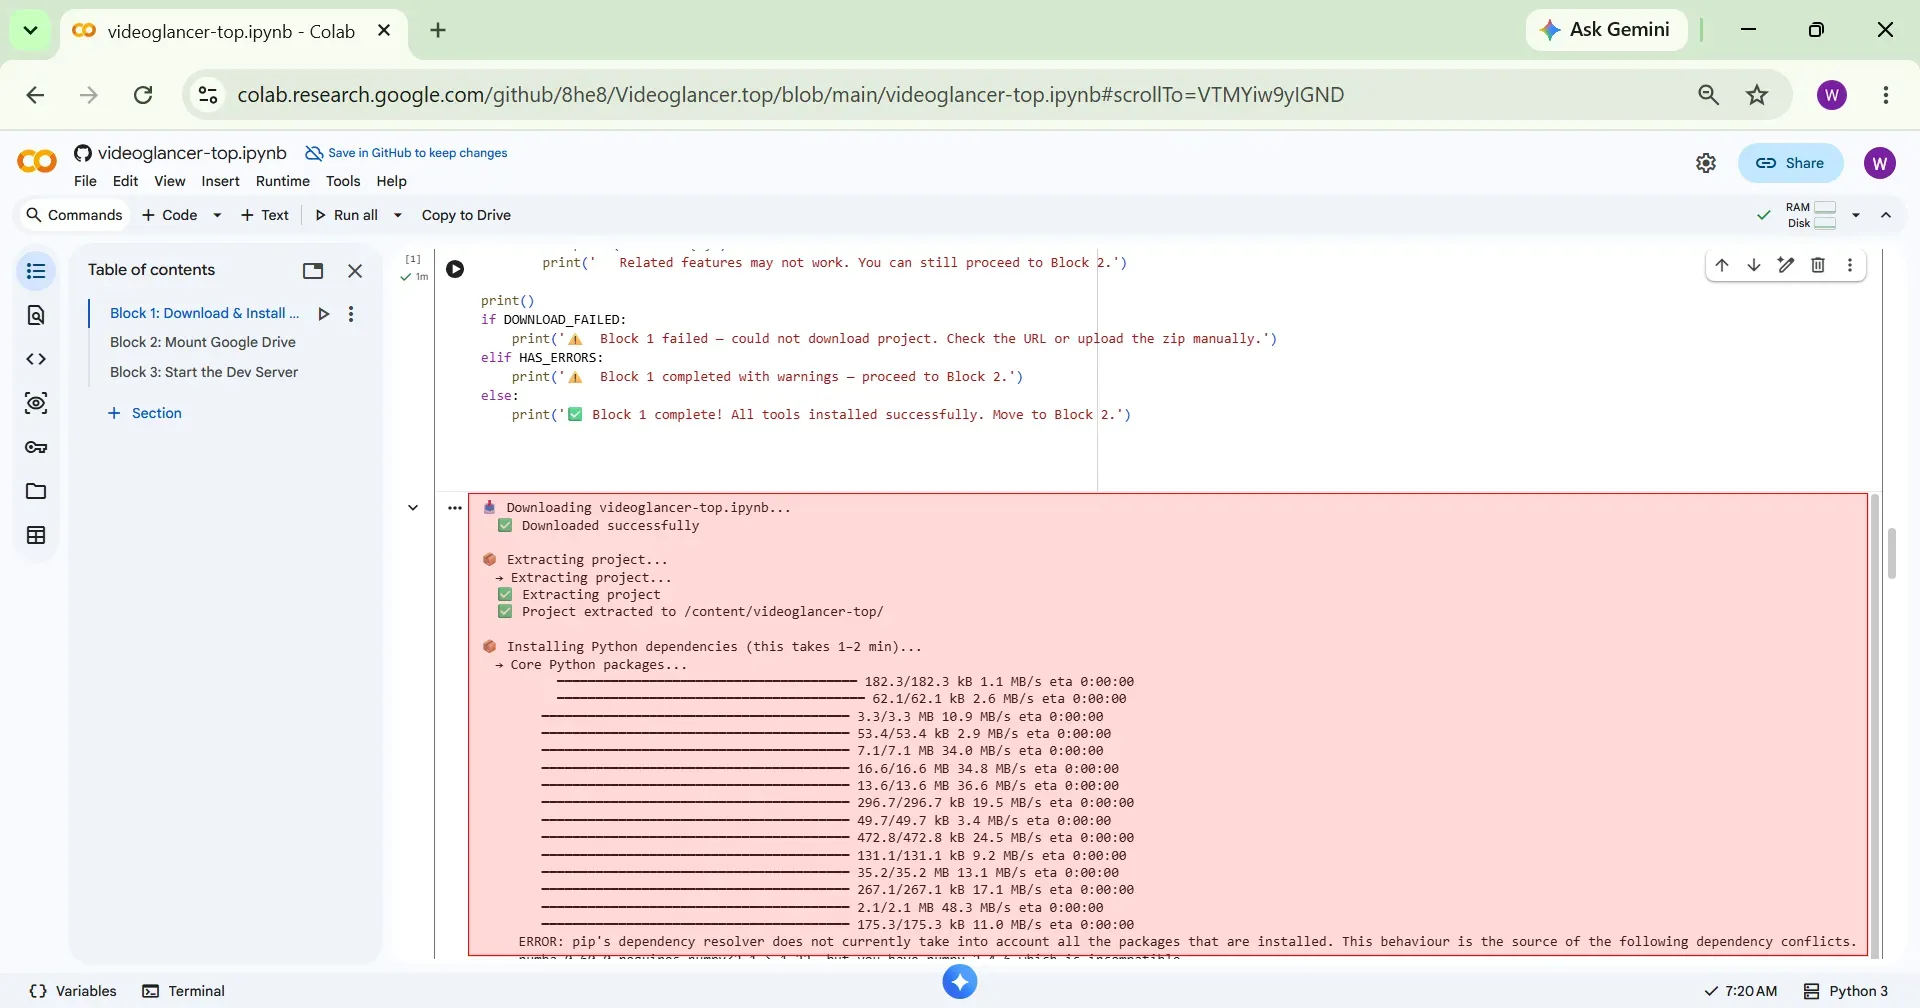
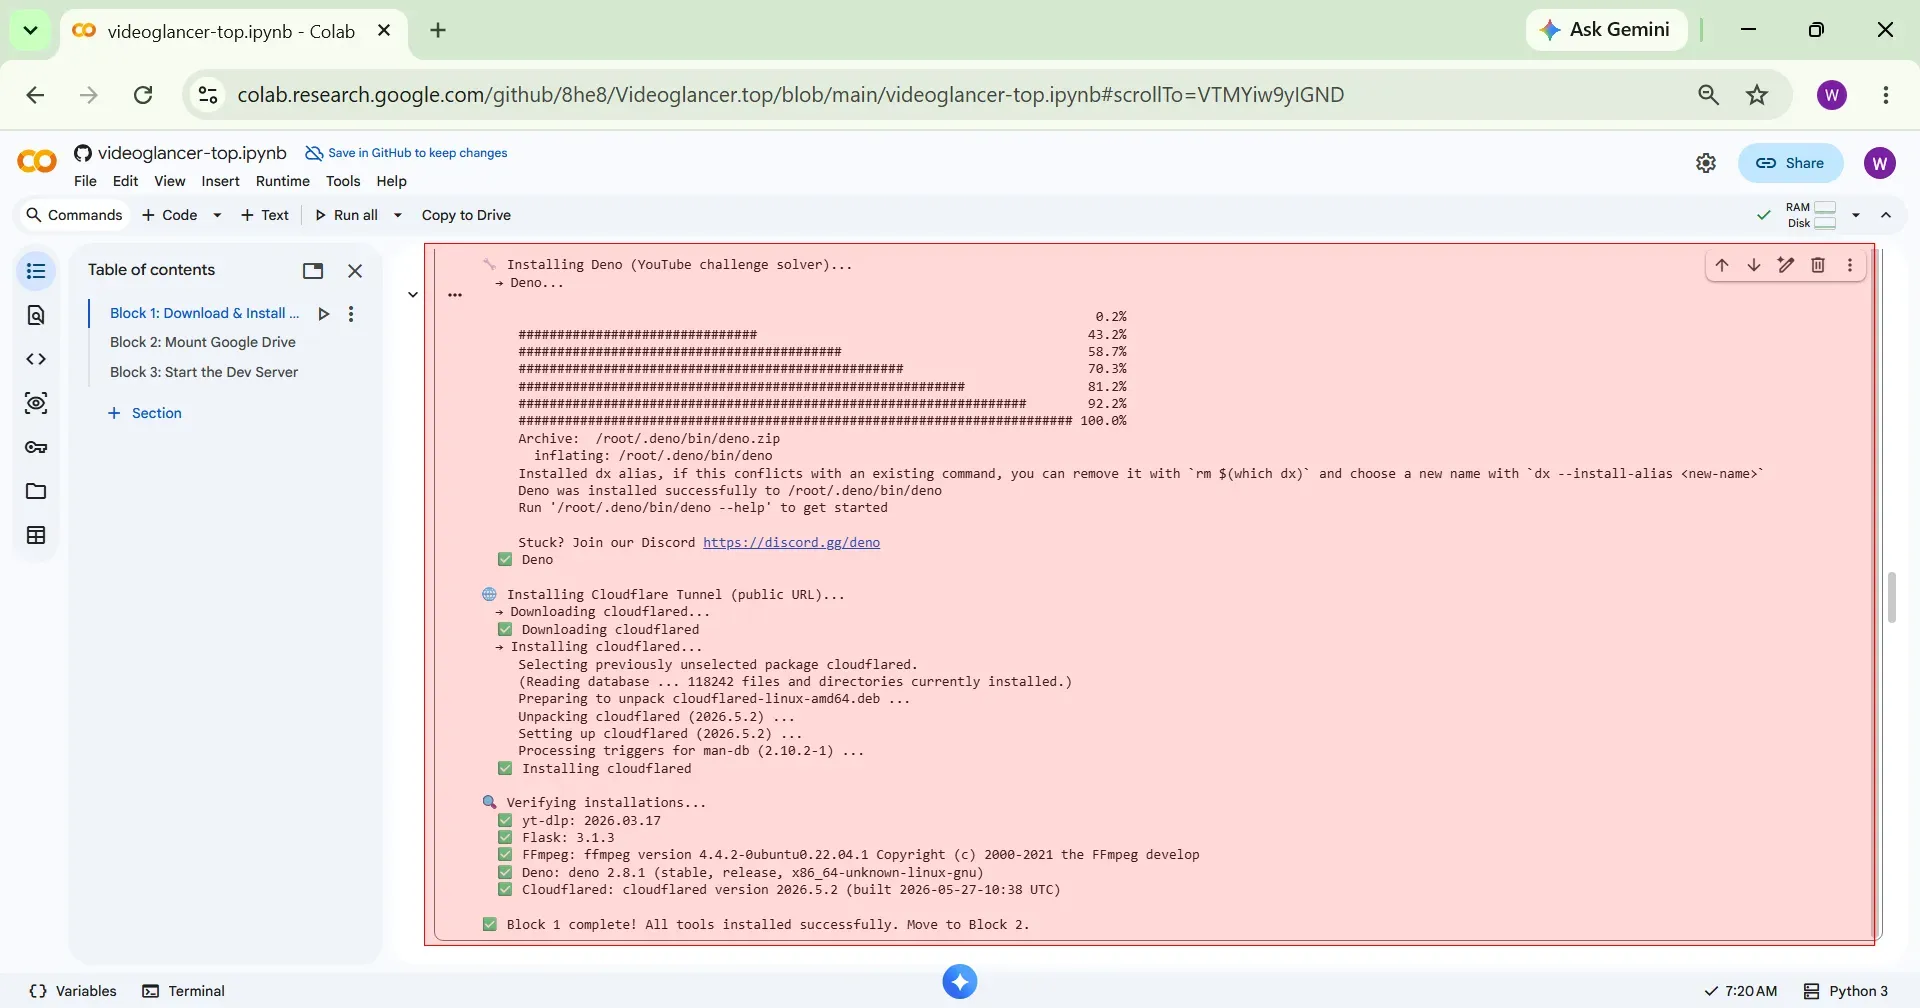
Step 5 Execute Block 1
Now execute Block 1 by clicking the Play icon.
Click Run anyway.

Block 1 will start executing. Wait for it to complete.
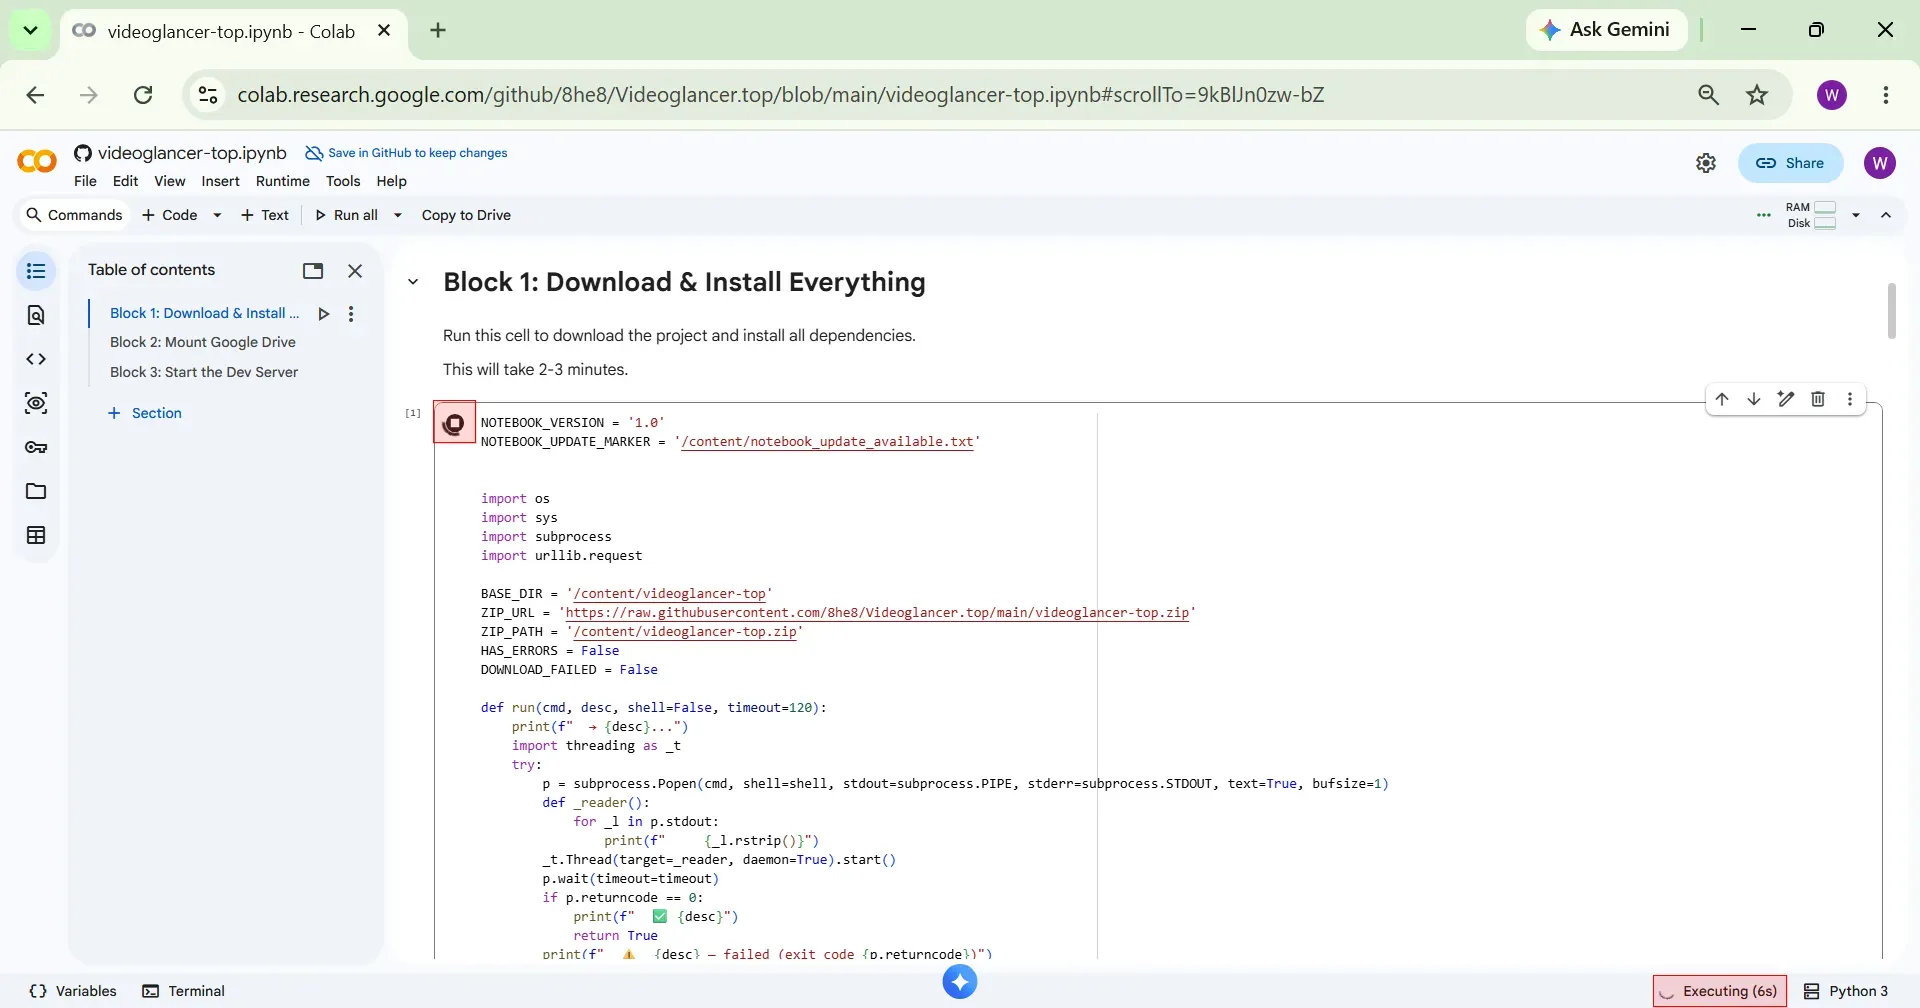
Block 1 execution is completed.
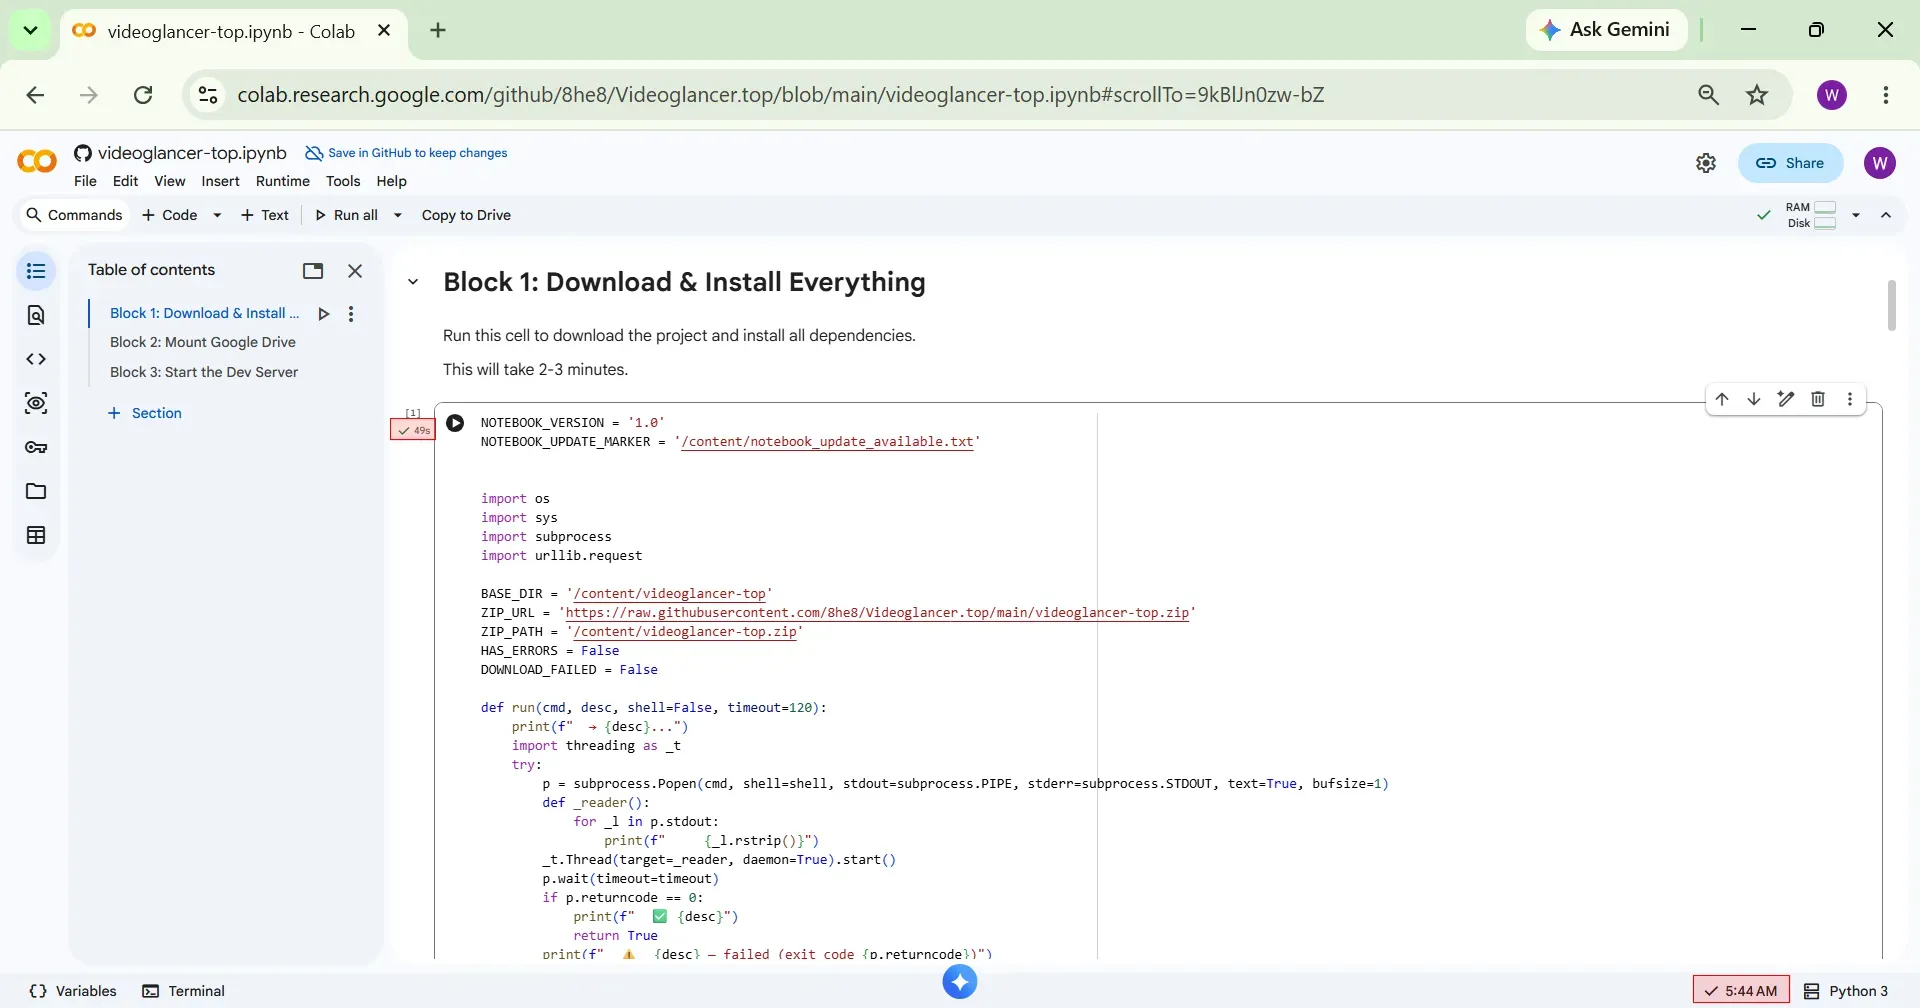
The code logs will appear below.
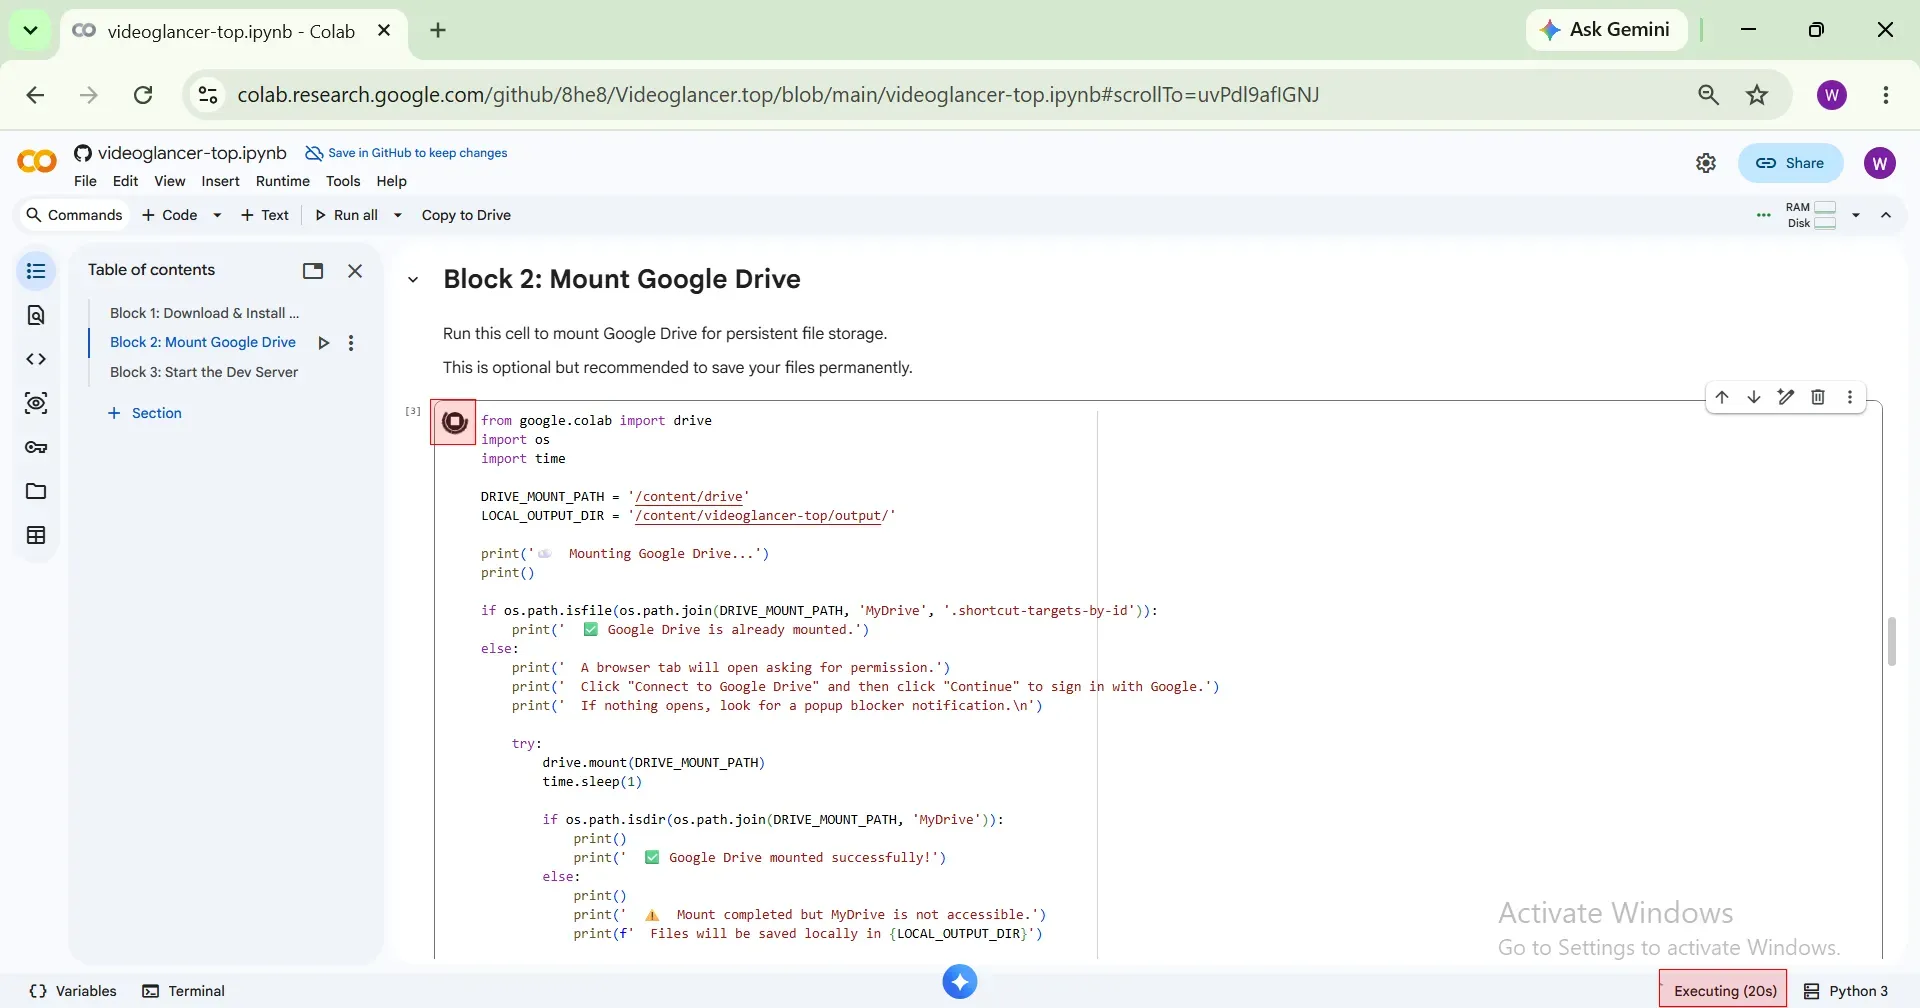
Step 6 Execute Block 2
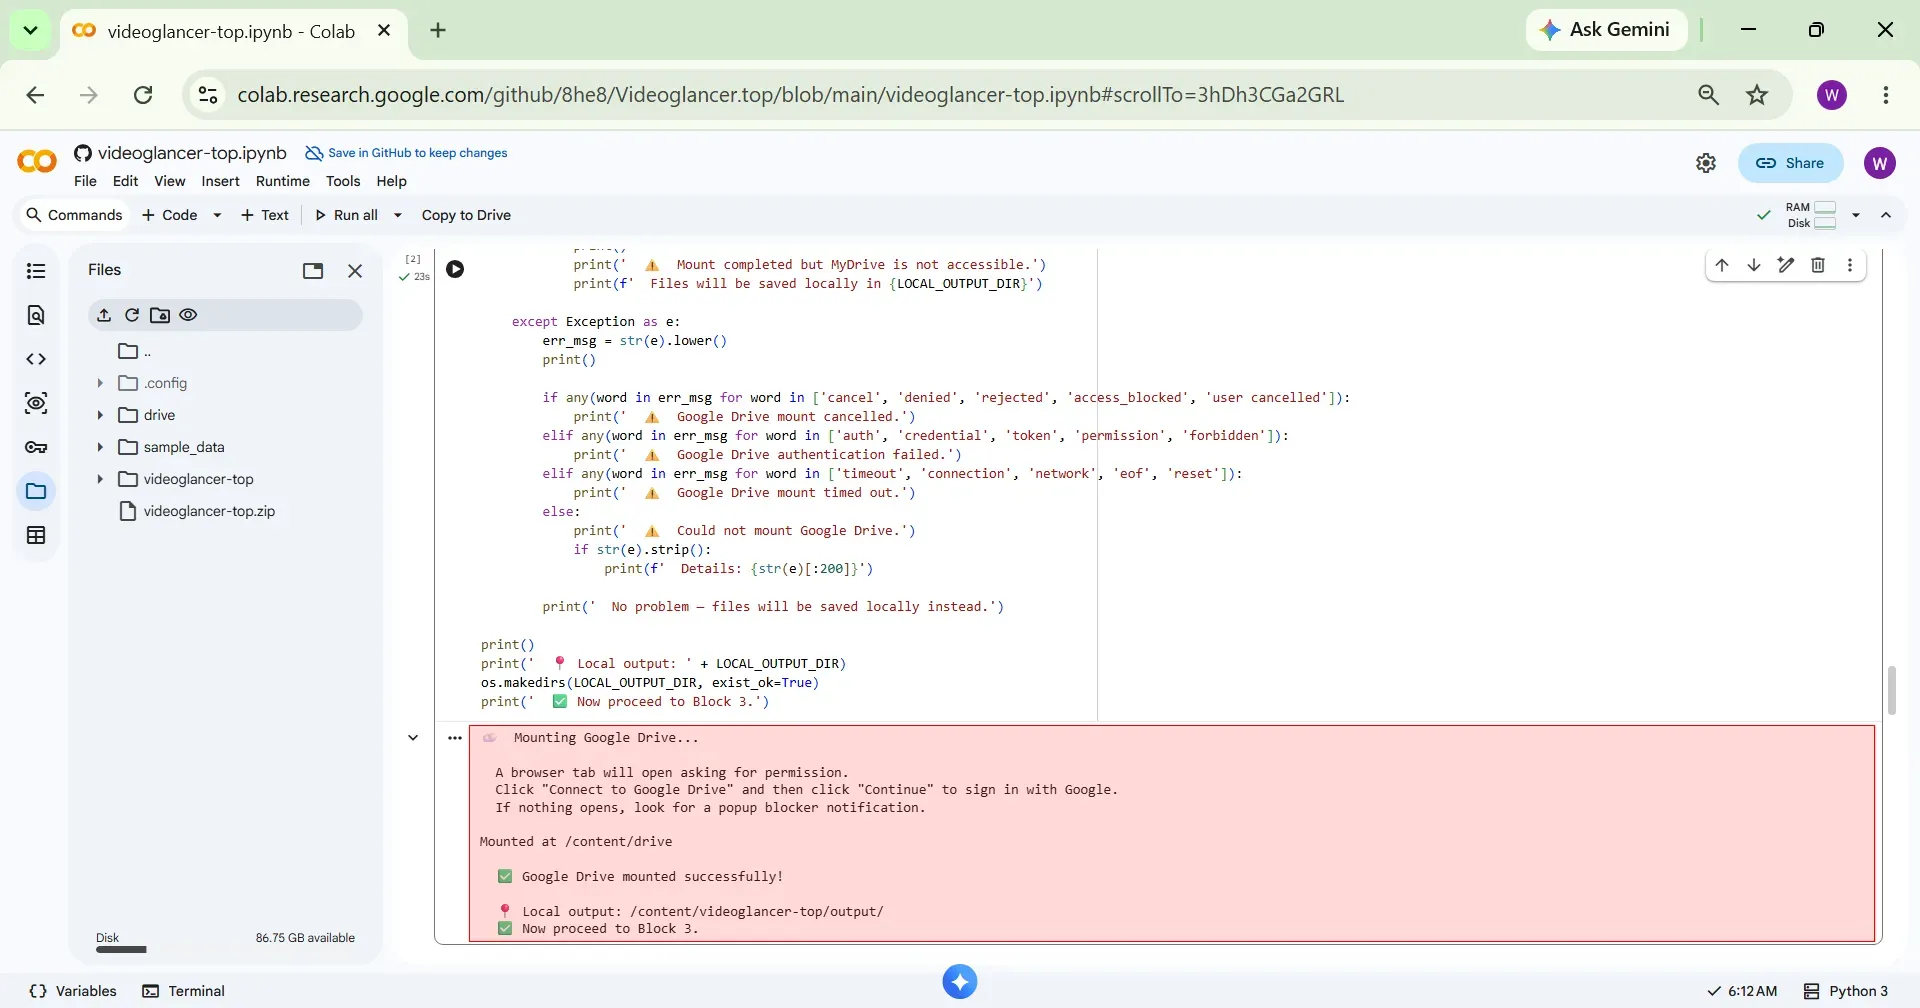
Now execute Block 2 by clicking the Play icon.
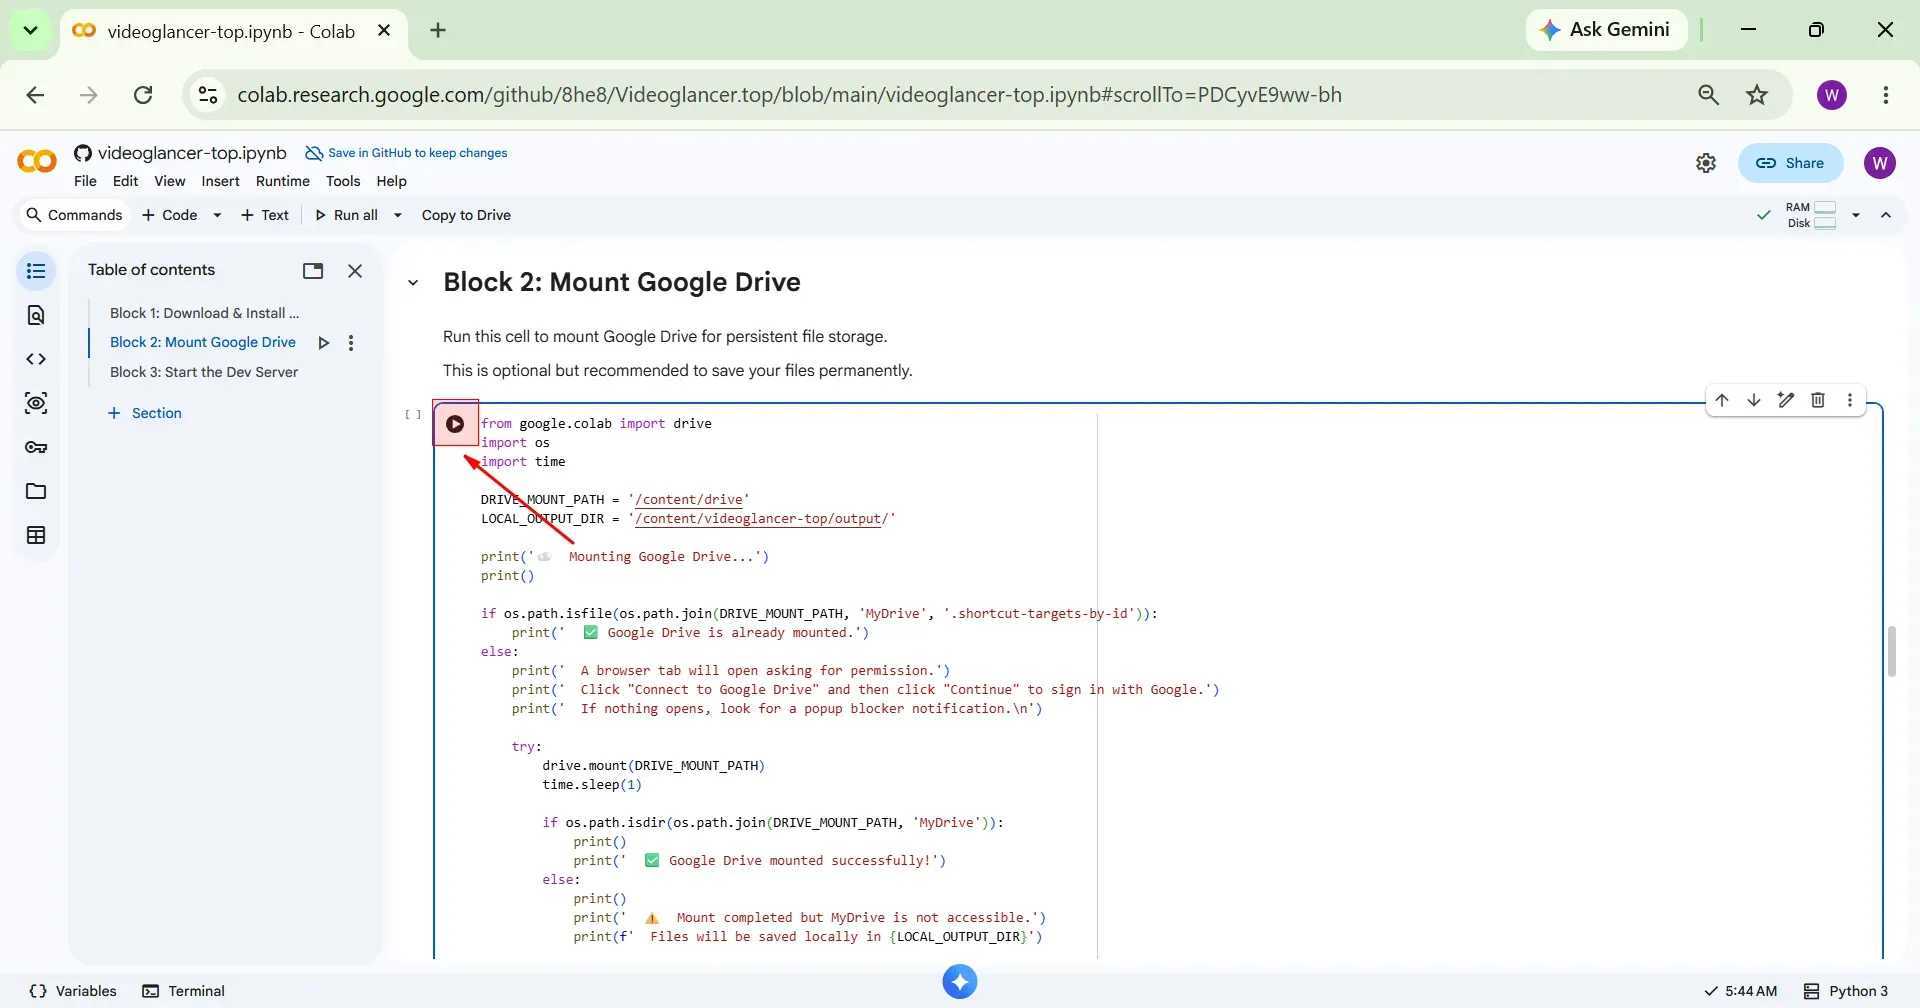
Block 2 will start executing.
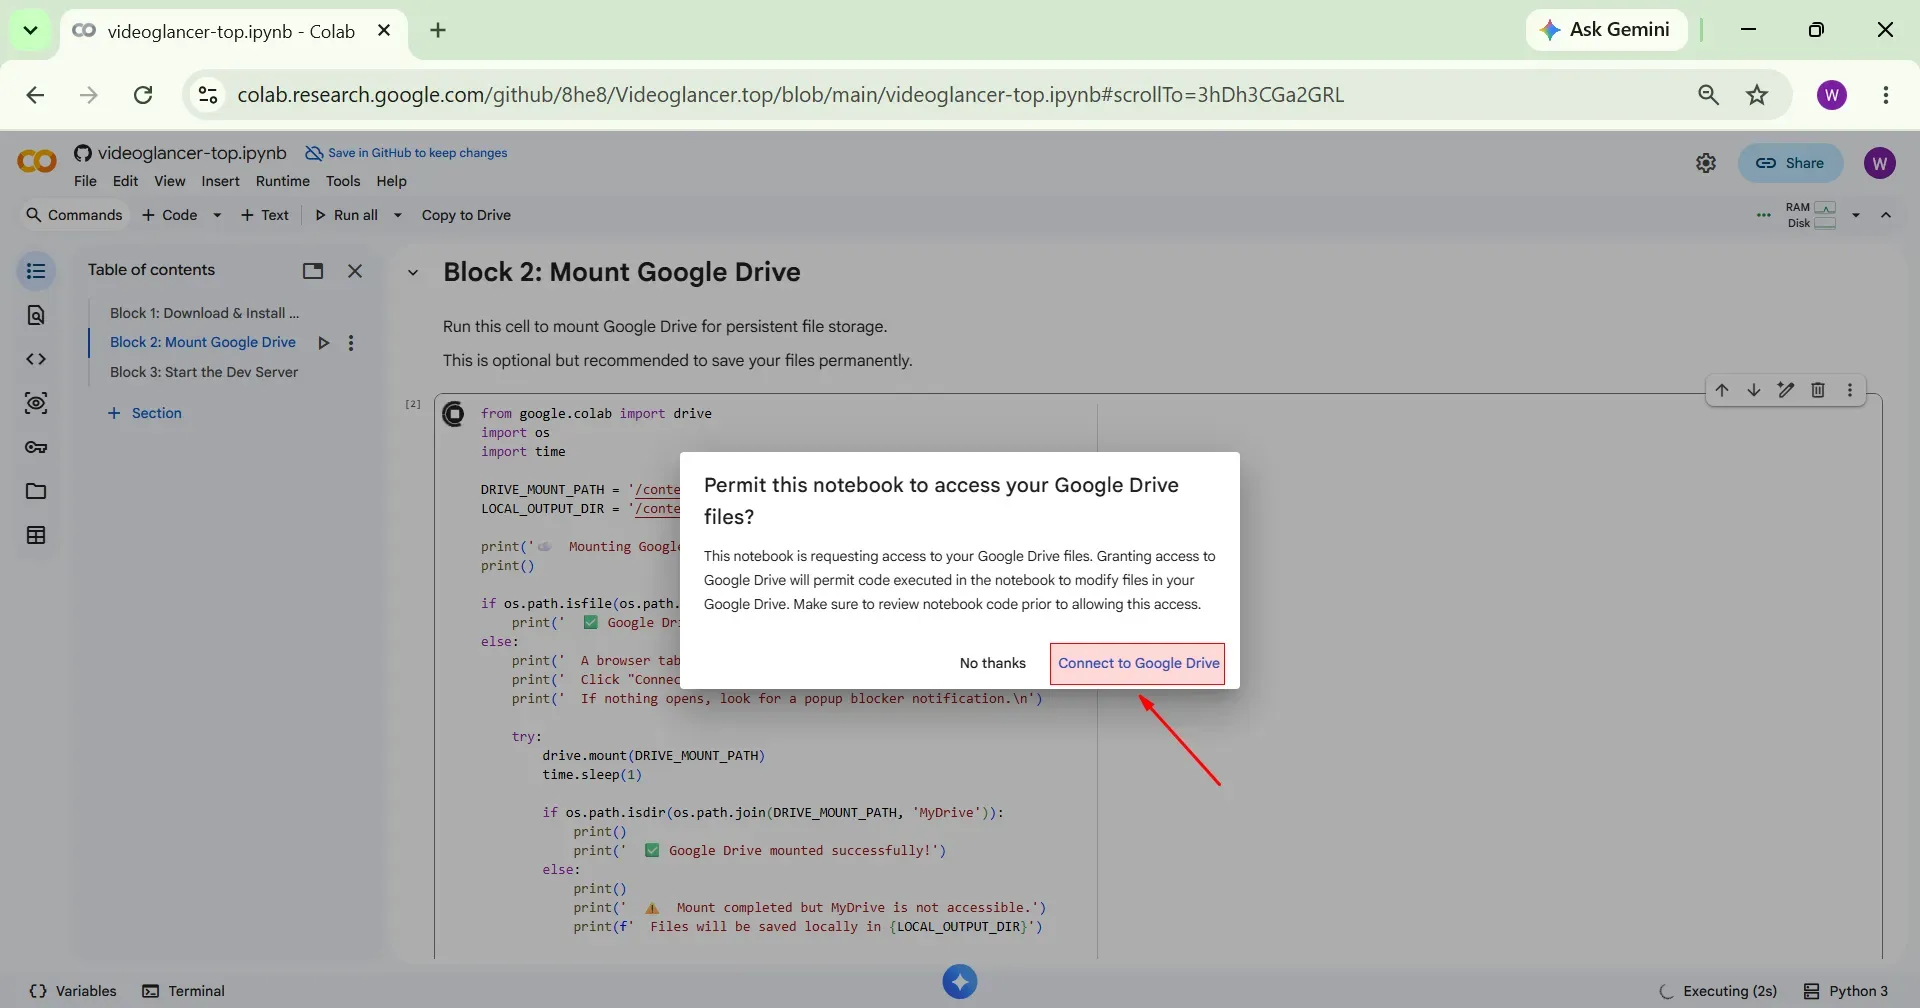
Grant Google Drive Access
A pop-up will appear. Click Connect to Google Drive.
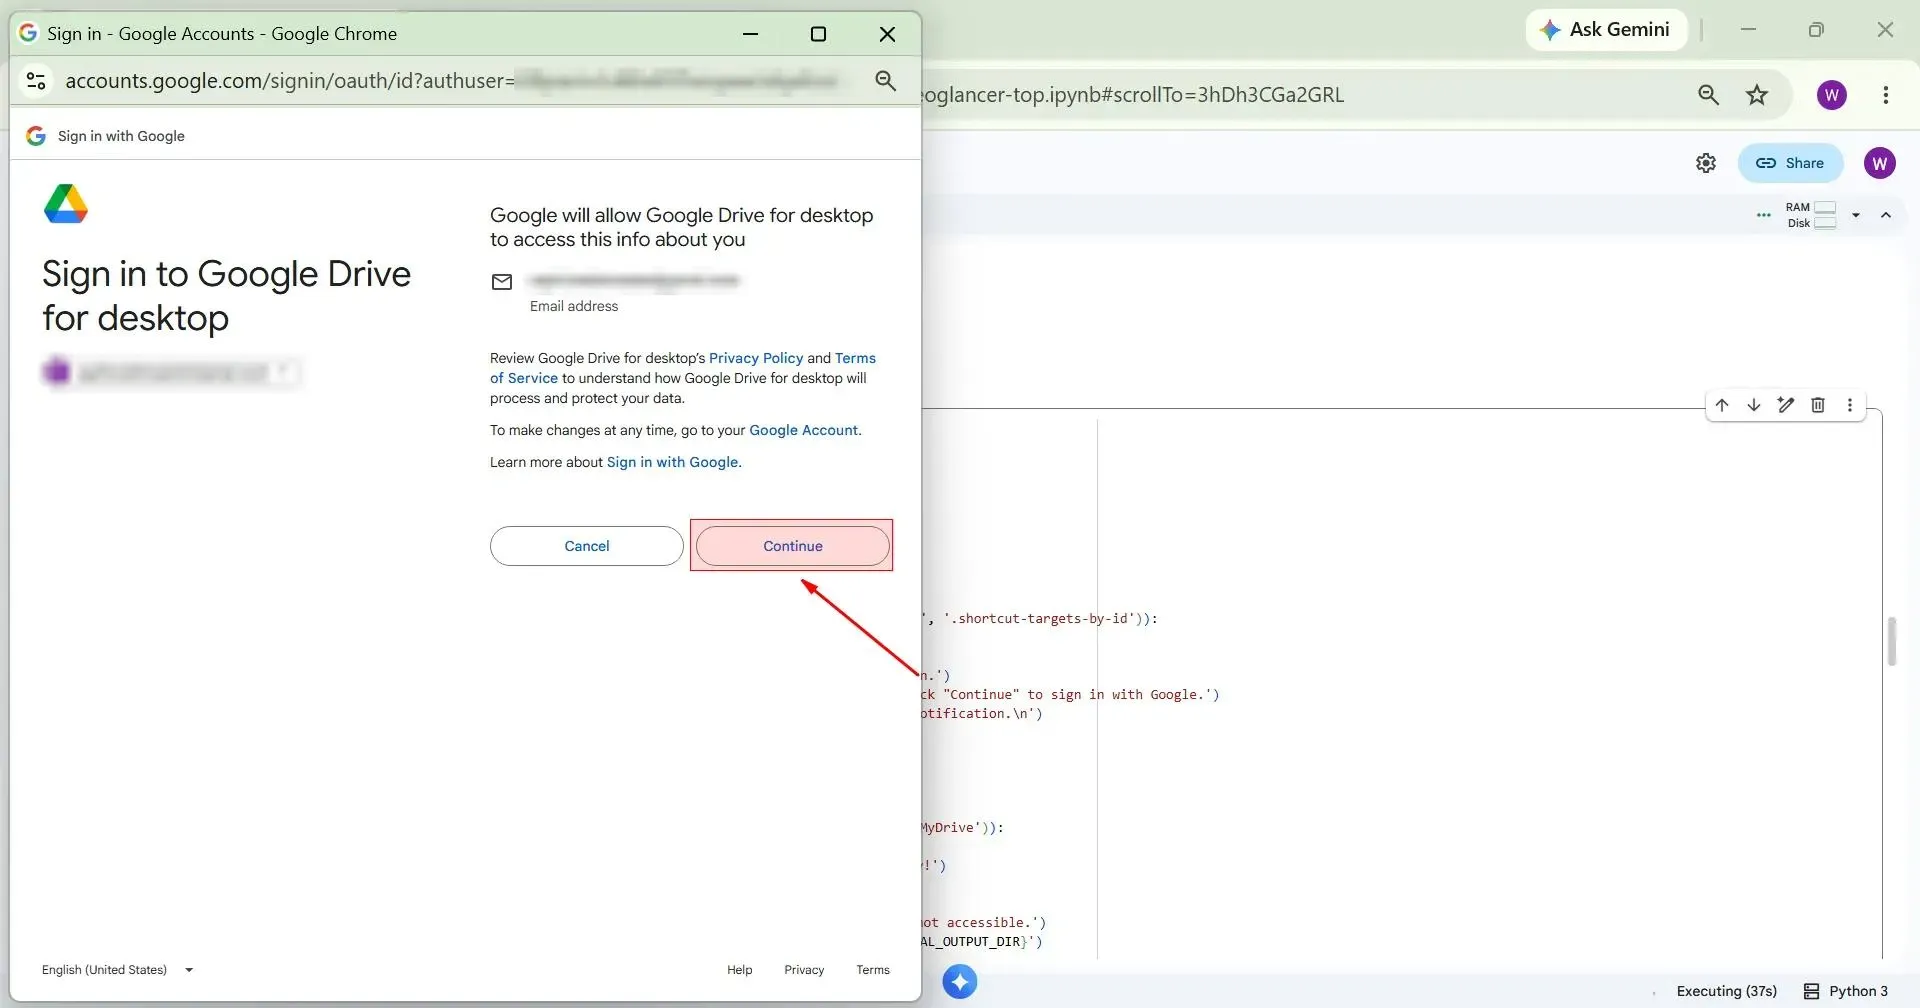
Click Continue.
Click Select all.
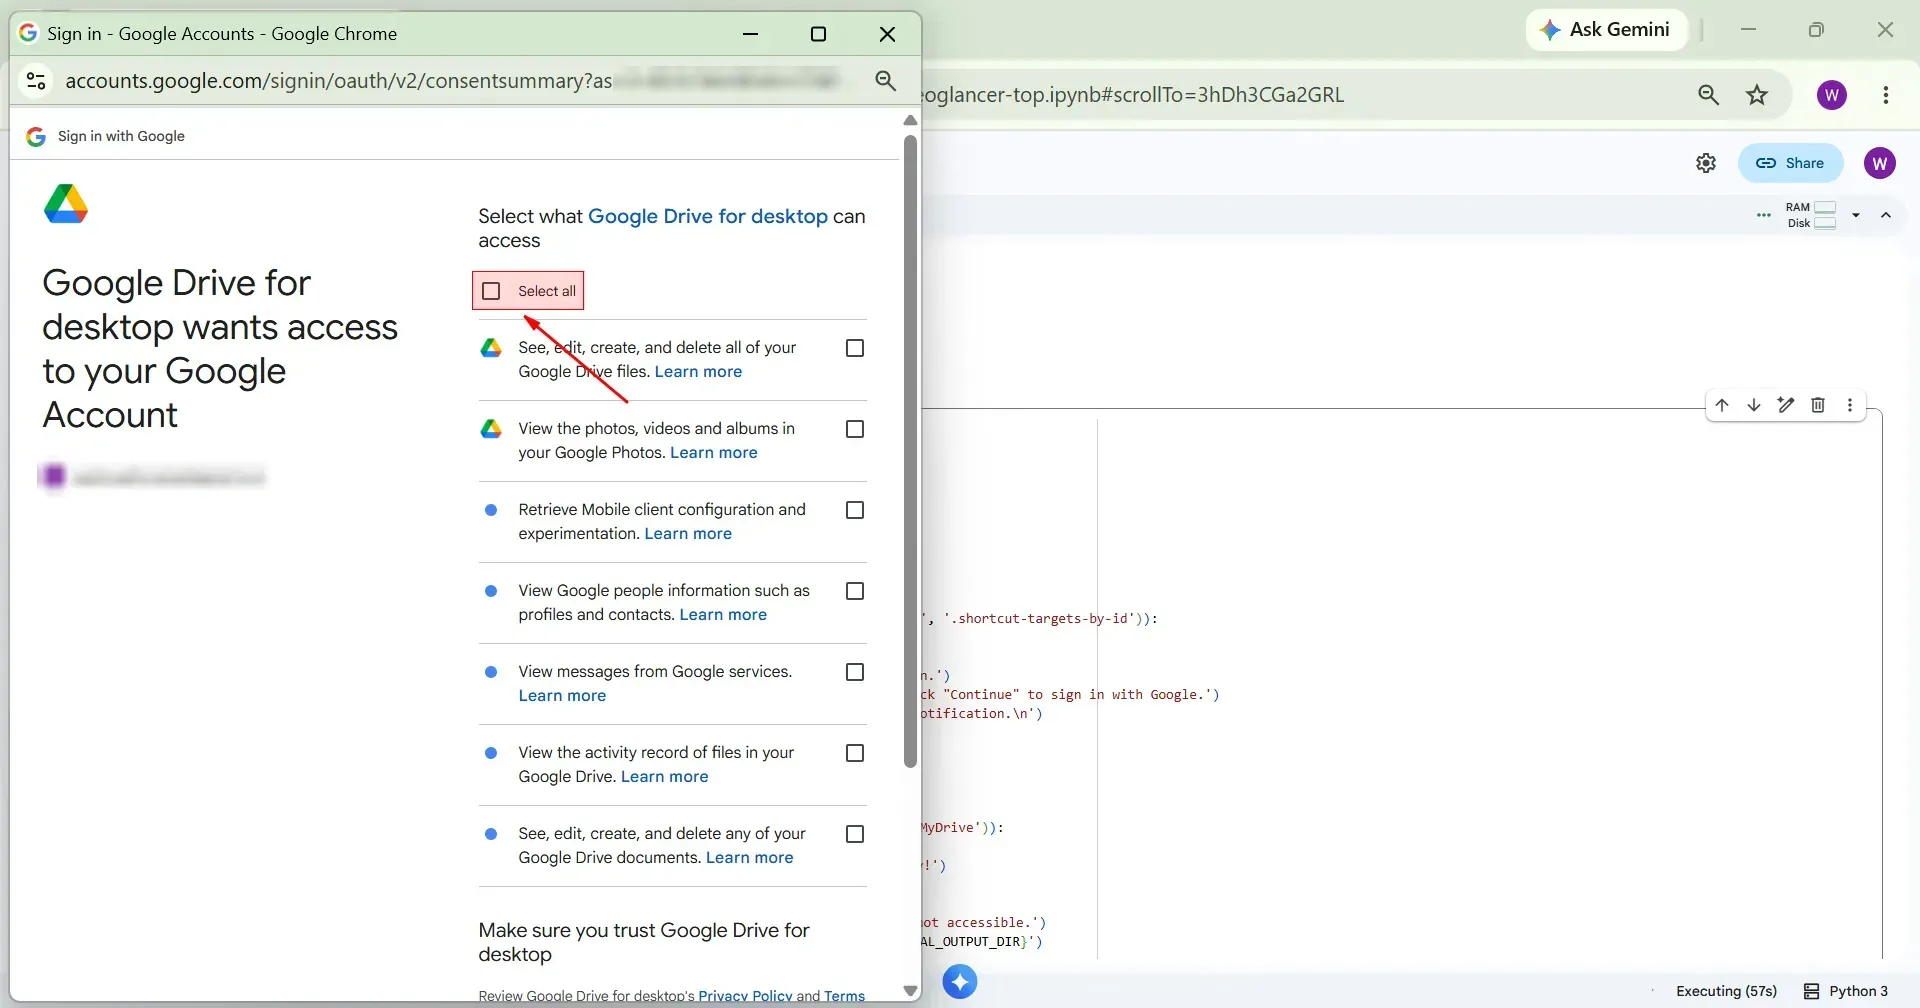
Make sure all the checkboxes are selected.
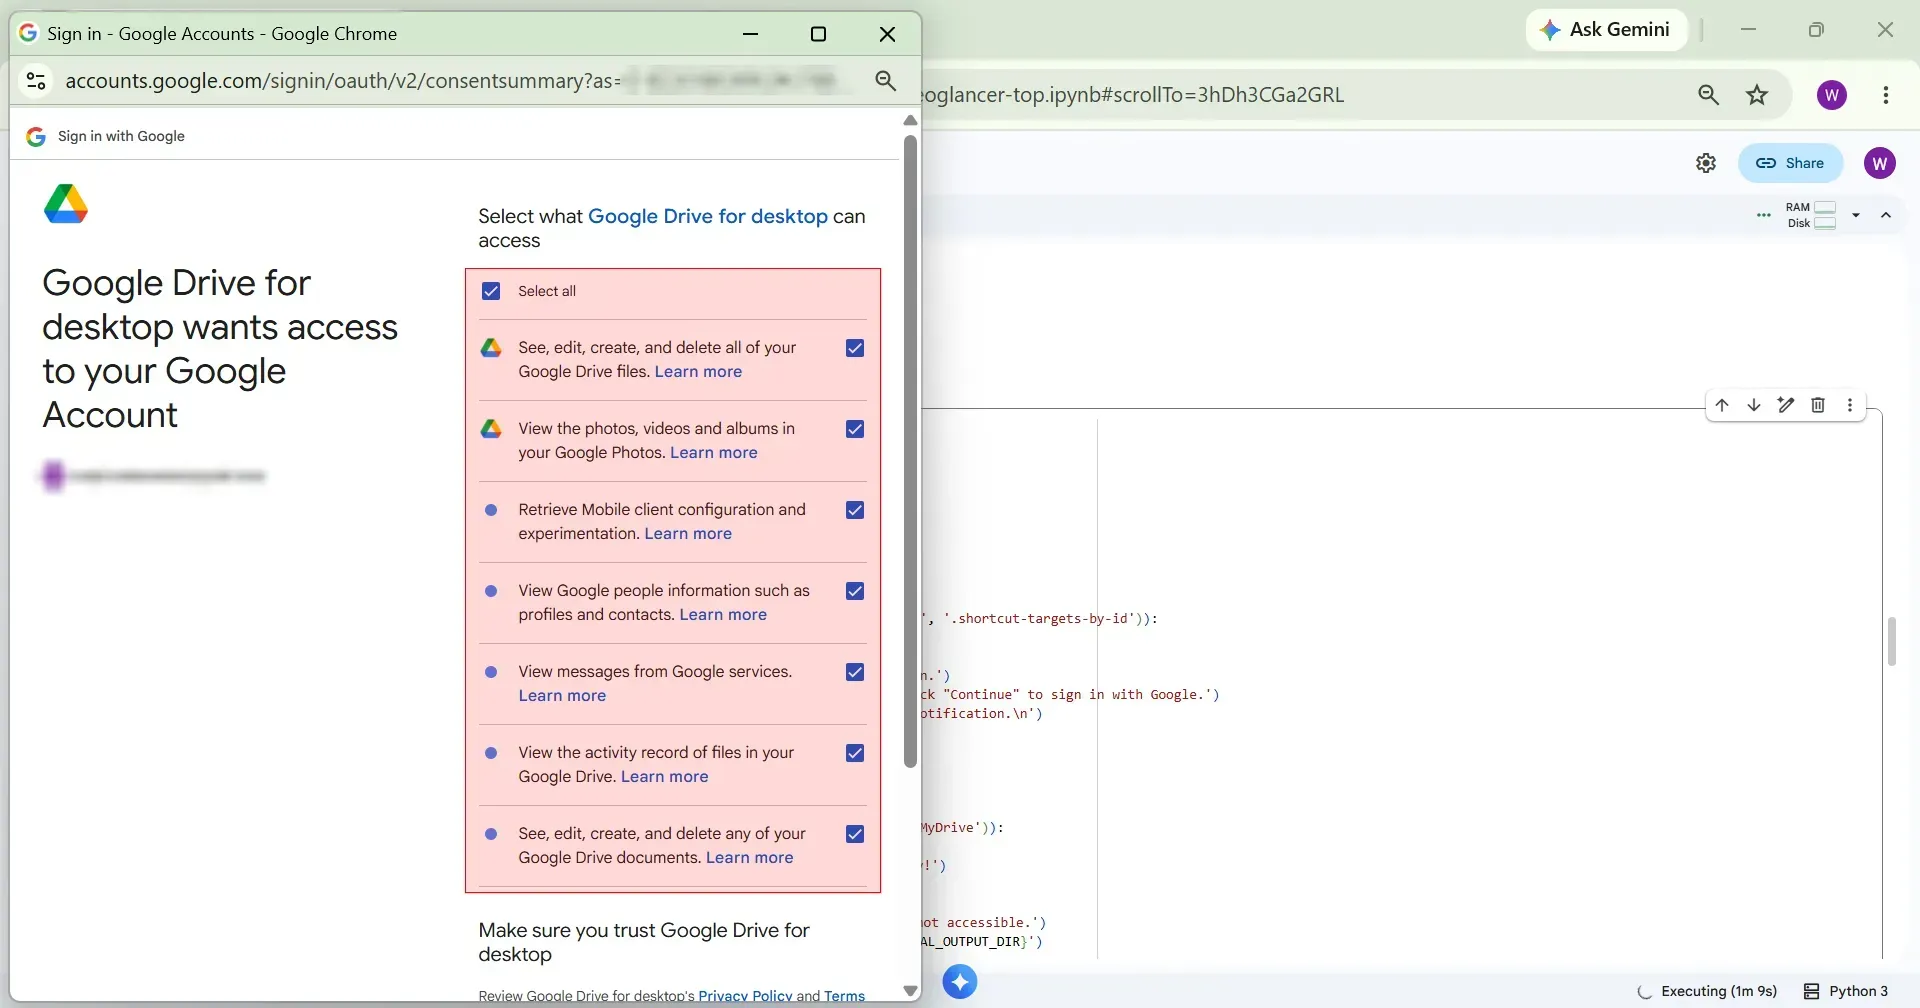
Click Continue.

Wait for the execution to complete. Once finished, you will see in the logs that Google Drive has been successfully mounted.
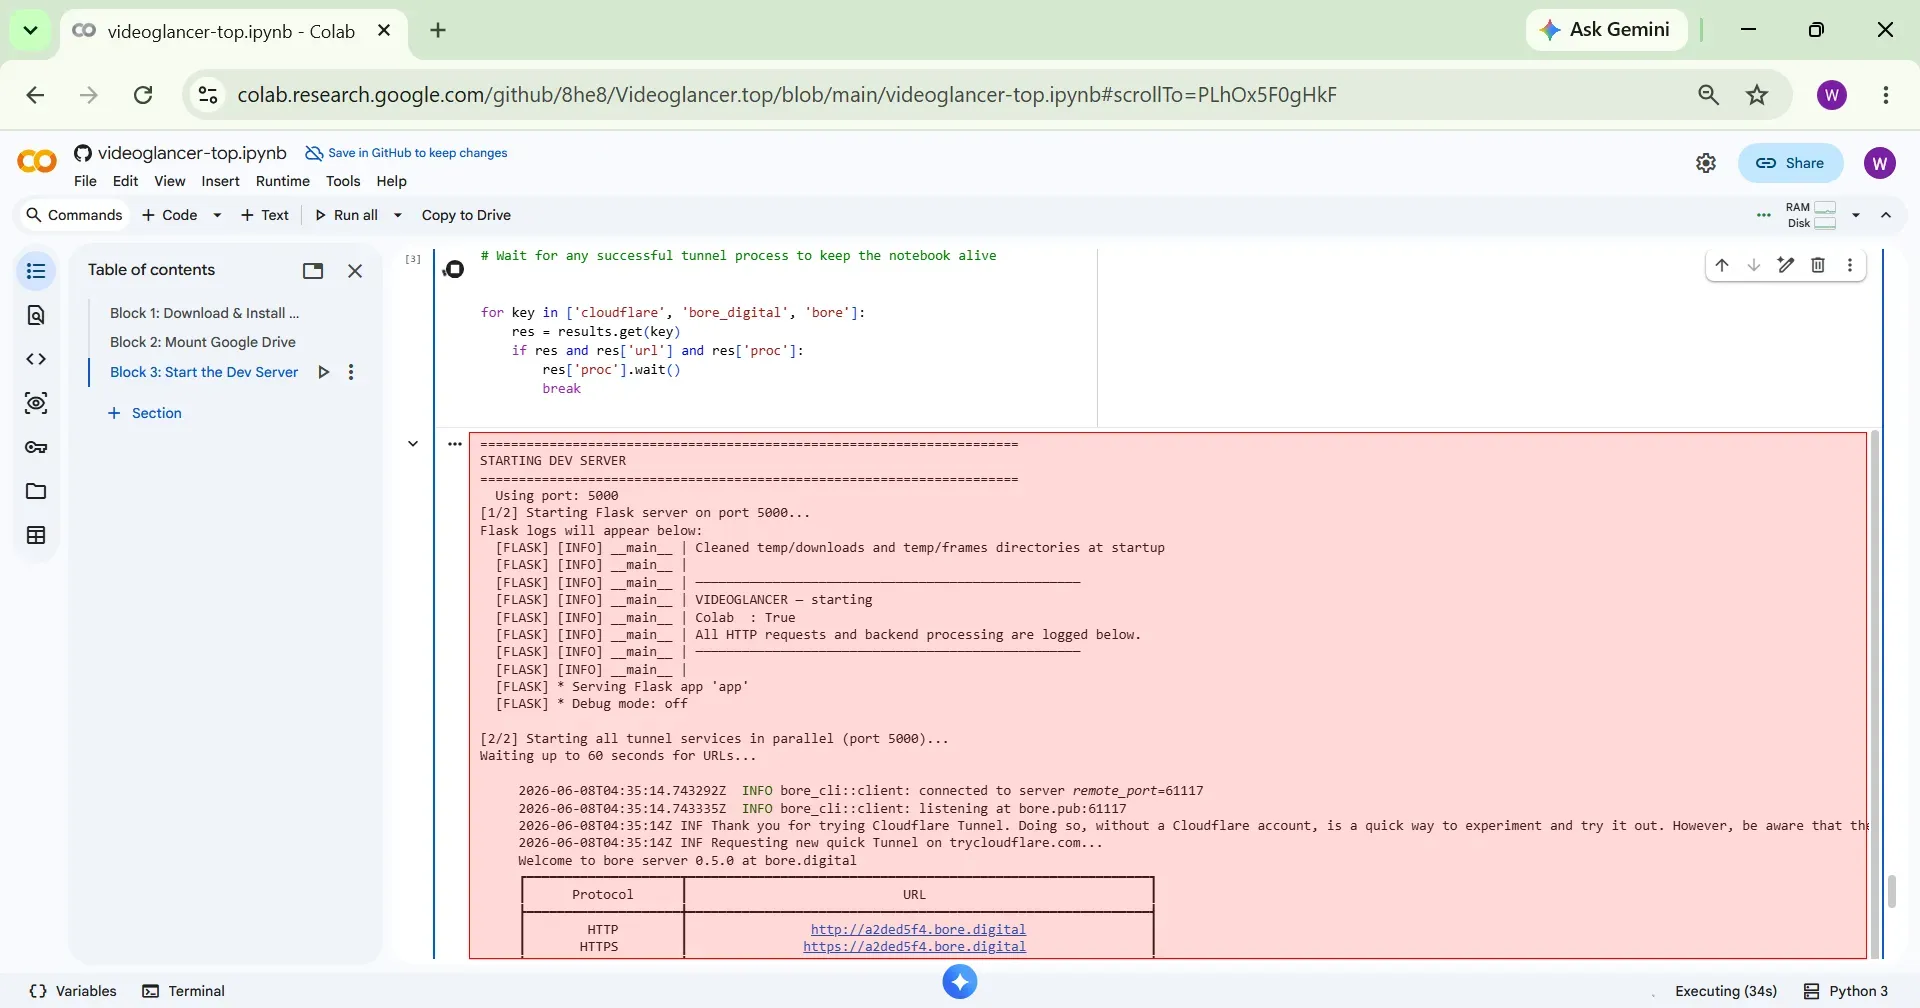
Step 7 Execute Block 3
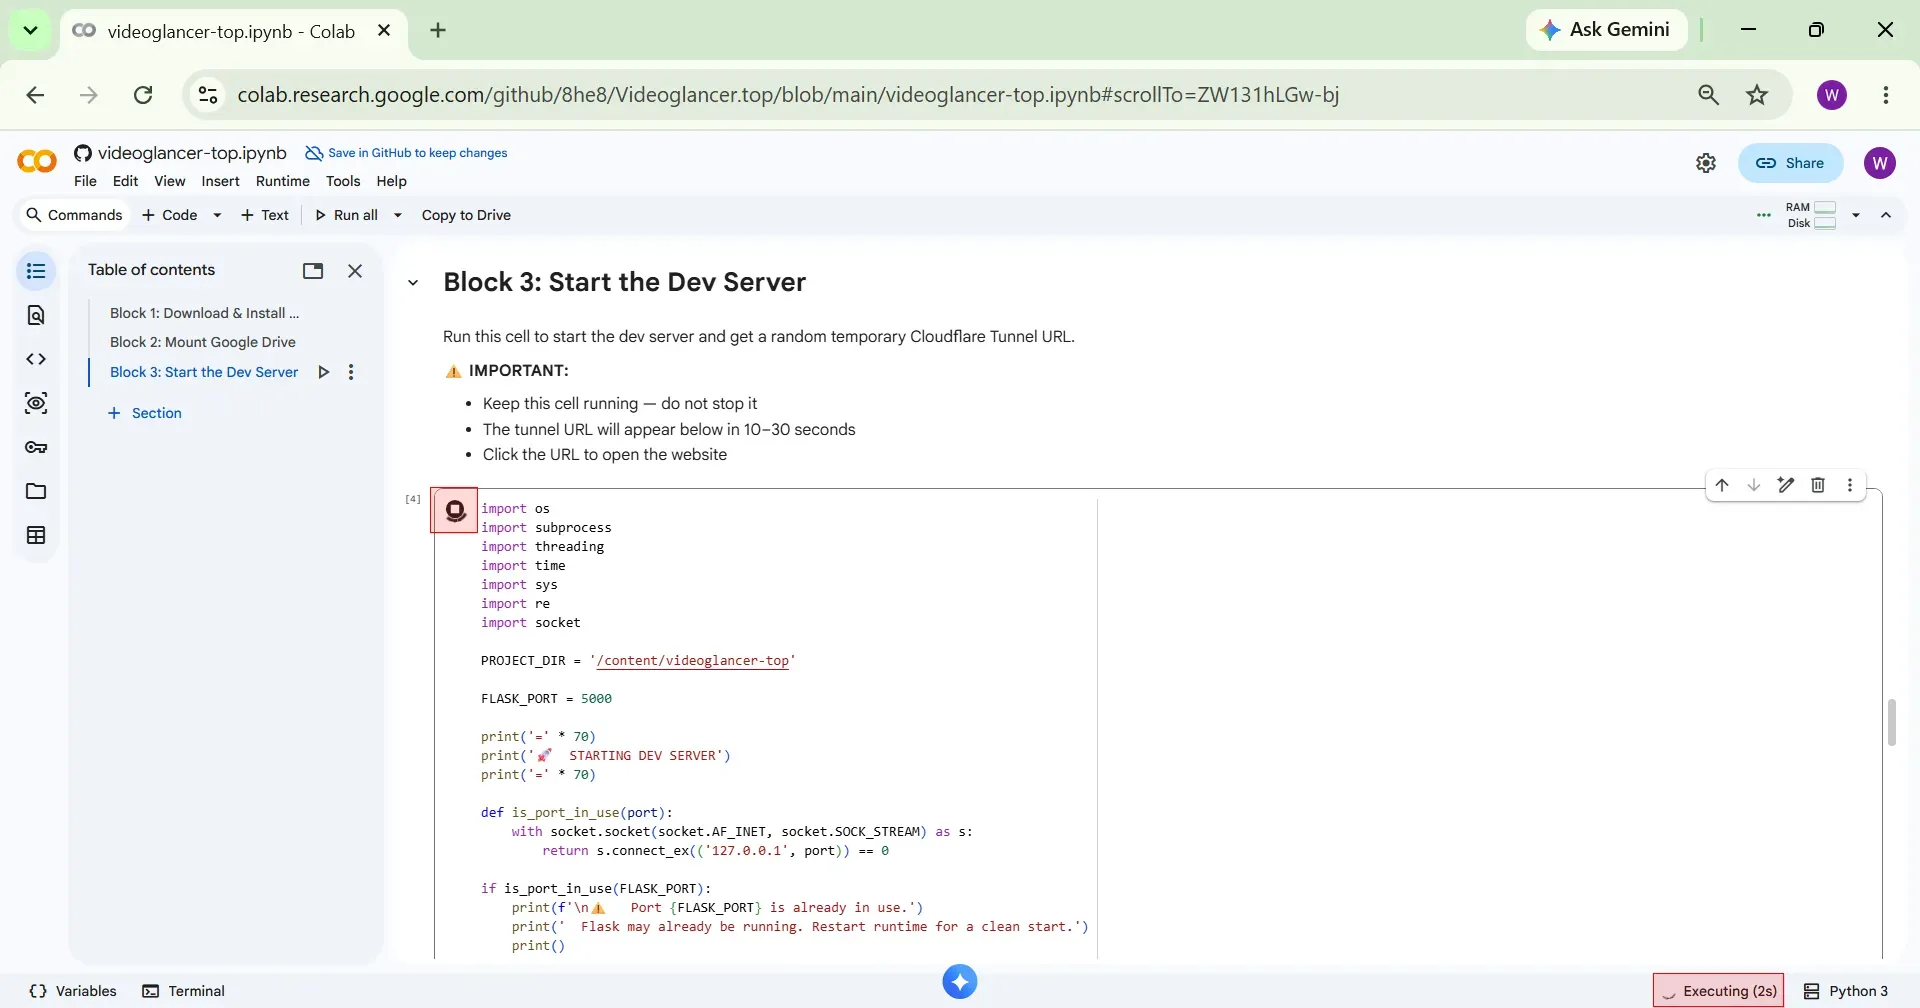
Now execute Block 3 by clicking the Play icon.
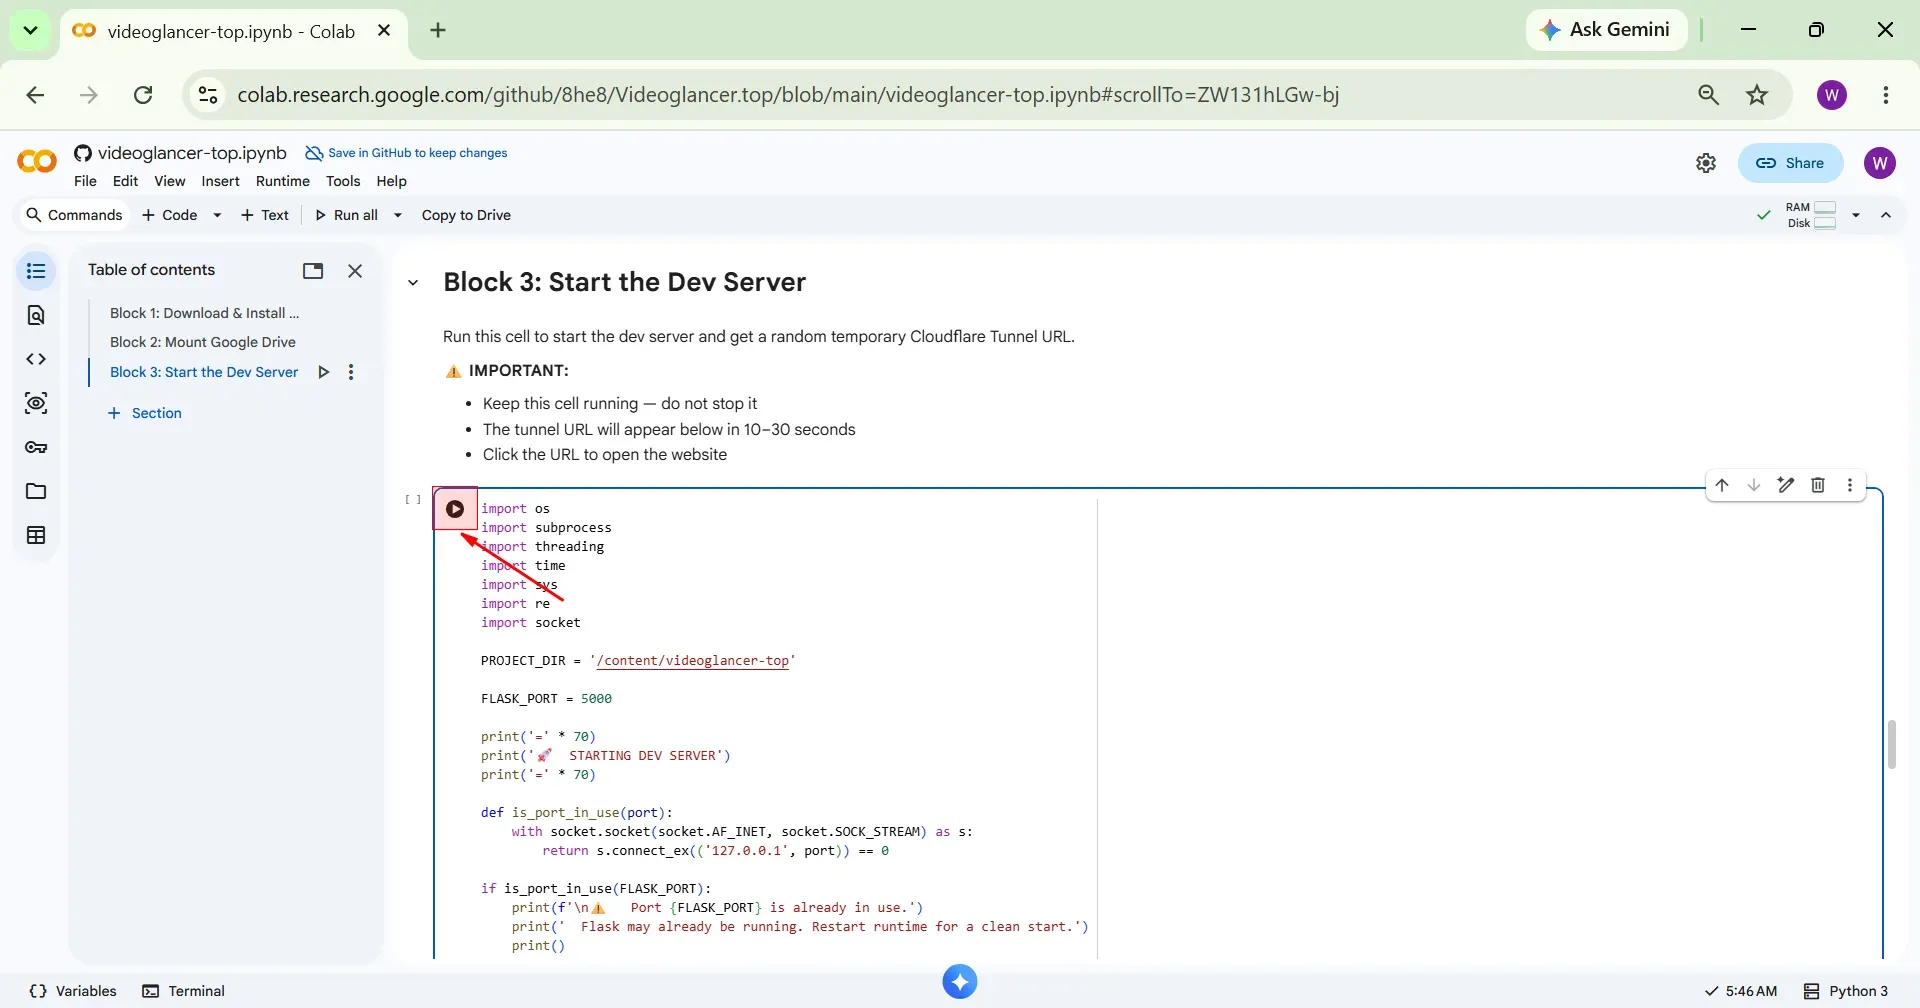
Block 3 will start executing, it never finishes and the loading icon keeps spinning. This is expected because the Flask development server is running in that block. Keep this code block running to use the temporary tunnel URLs. If you stop it, the tunnel URLs will no longer work.
The code logs will appear below.
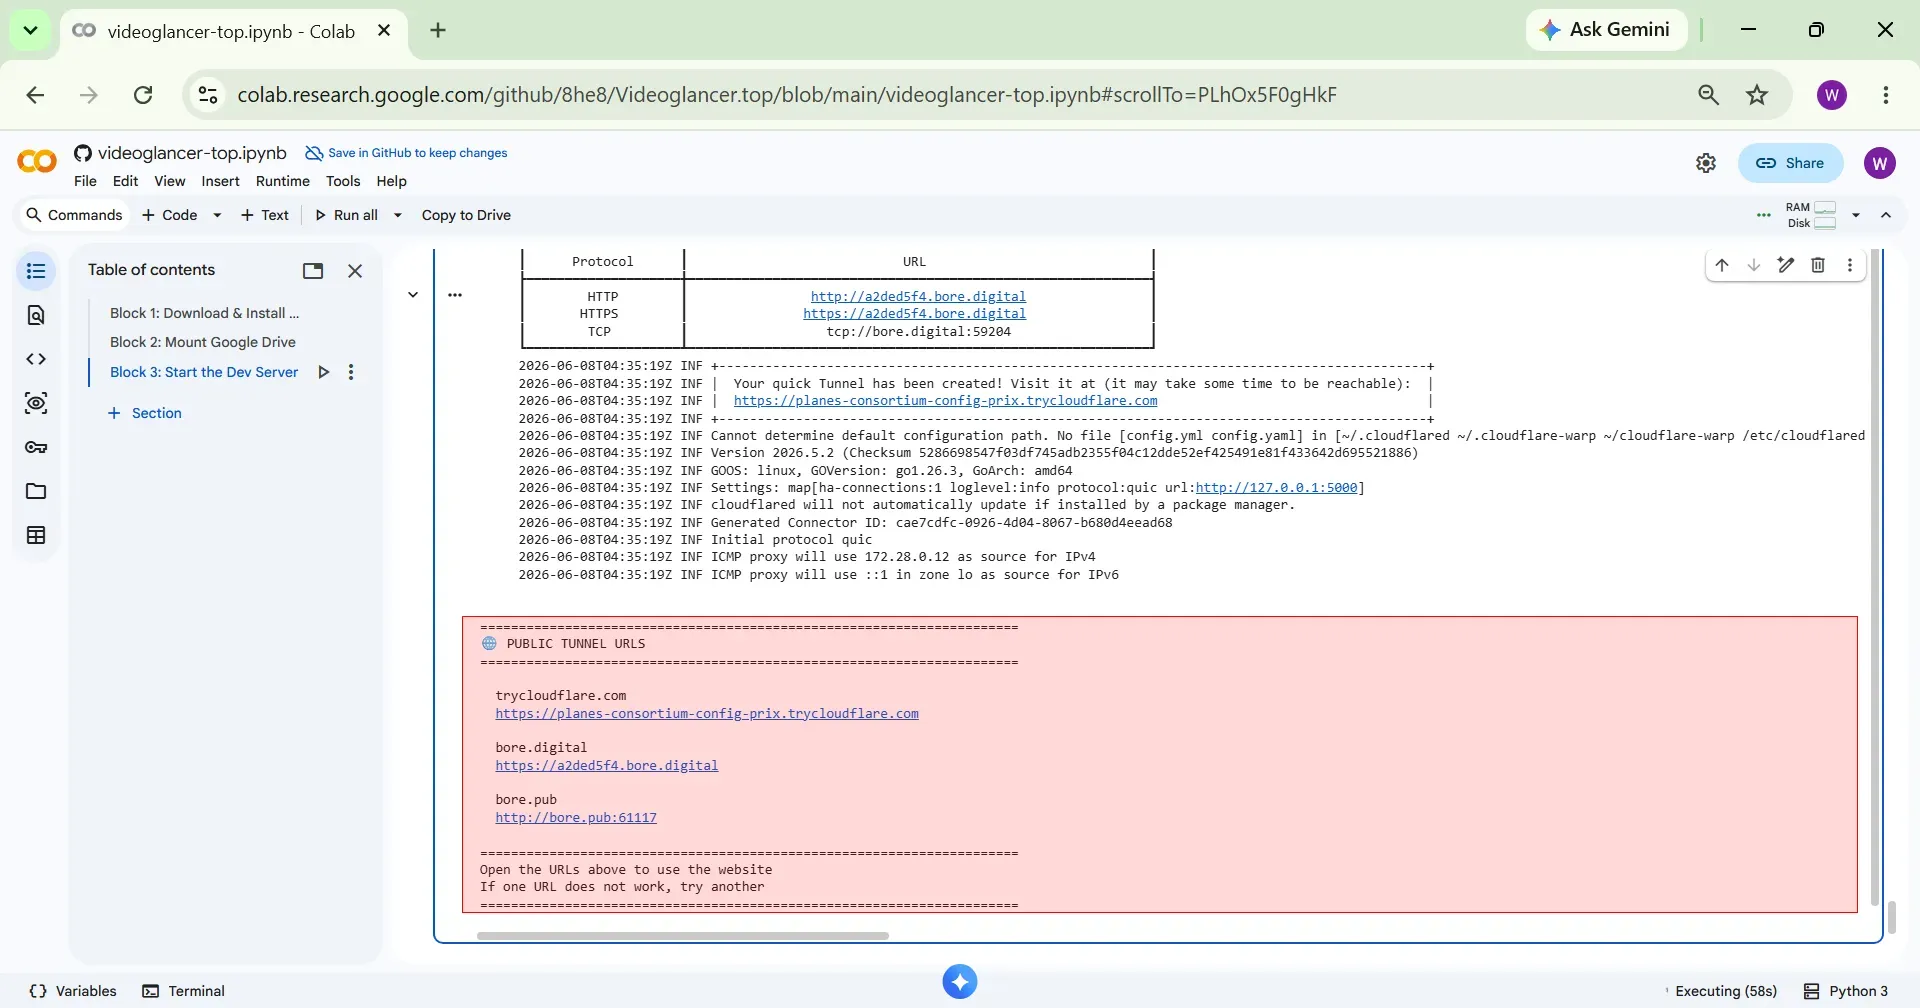
Step 8 Open Tunnel URL
In logs multiple public temporary tunnel URLs will appear. Open any URL in a new Incognito window. If one URL does not work, try another.
Once you open the tunnel URL in the Incognito window, the website will load and will be ready to use.
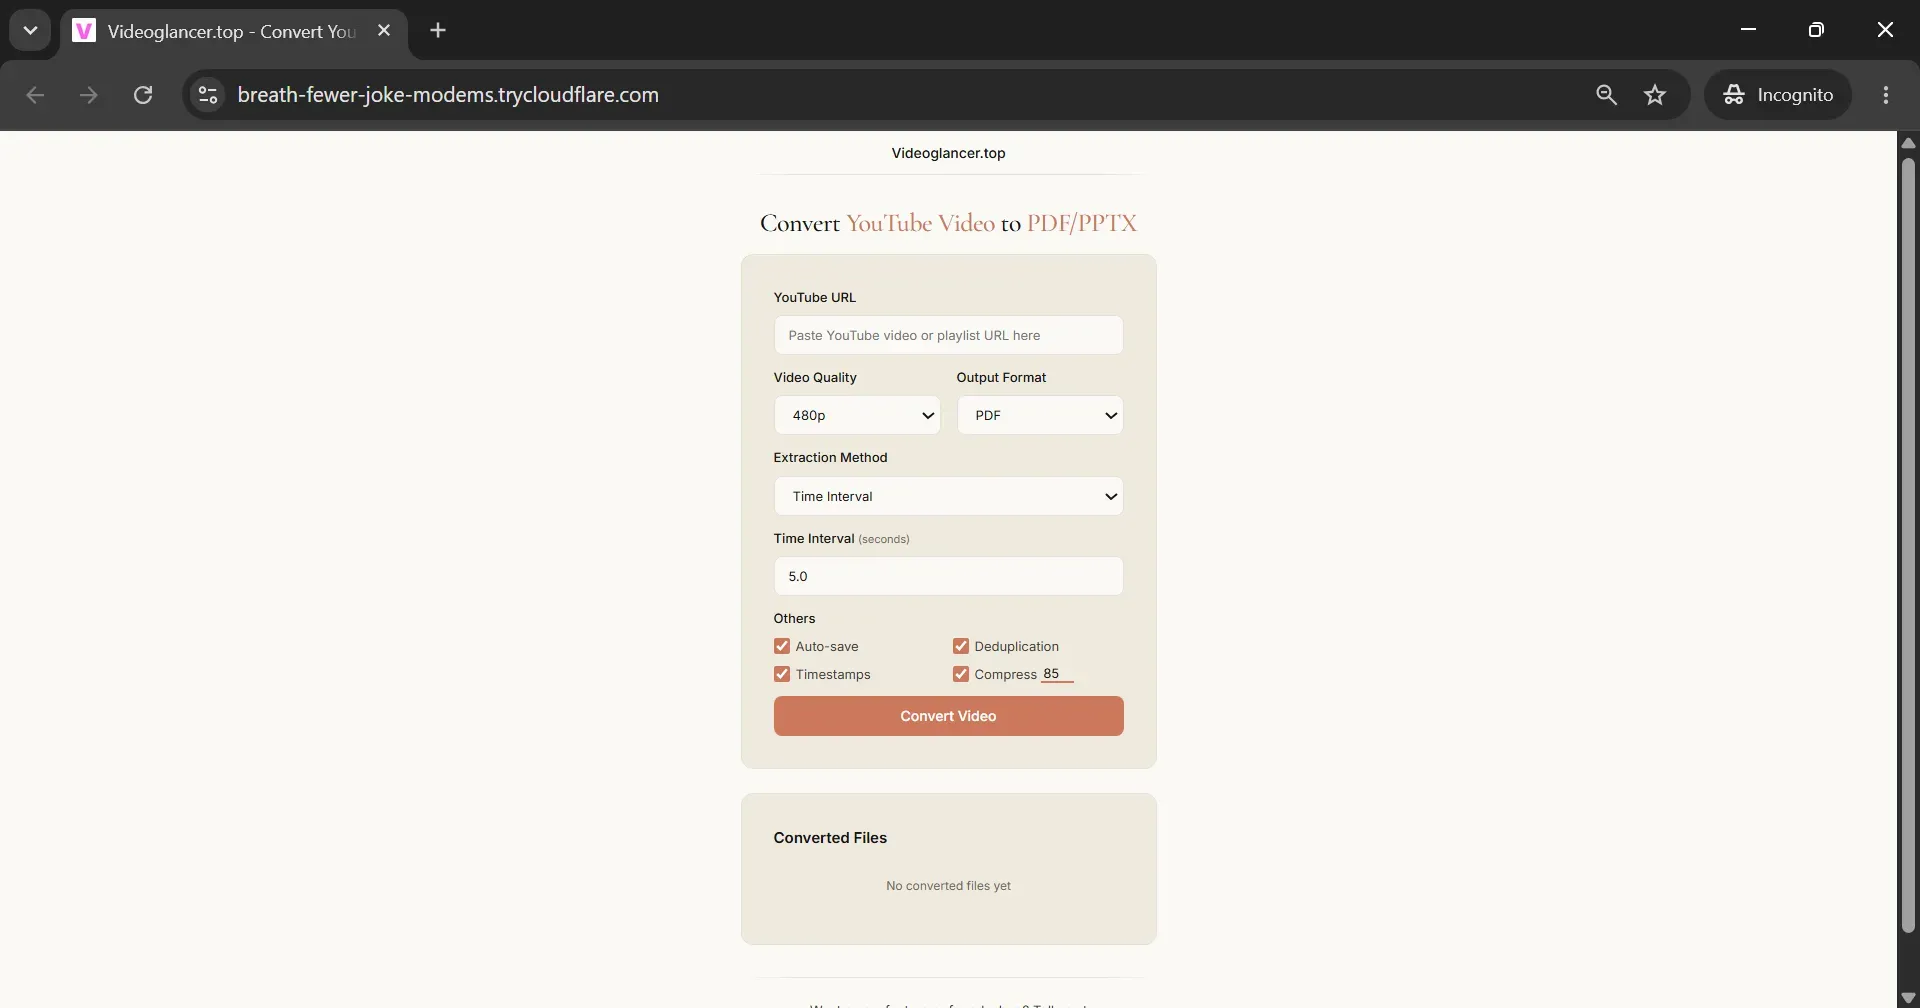
Website Options
In the website, you will see the following options:
- YouTube URL: Here you can paste a YouTube video or playlist URL.
- Video Quality: You can choose the download quality from the available options: 240p, 360p, 480p, or 720p.
- Output Format: You can select the output format, either PDF or PPTX.
- Extraction Method: You can choose between Time Interval or Scene Detection.
- Time Interval: Choose the delay between extracted frames. For example, entering 5 will extract one frame every 5 seconds.
- Auto Save: This option automatically saves the converted files to Google Drive.
- Deduplication: Removes duplicate frames from the extracted images.
- Timestamps: Adds a timestamp to each frame based on the time it was extracted from the video.
- Compress: Reduces the file size of the extracted frames. You can choose a value between 1 and 99.
Click Convert Video to begin the process.
Converted Files
All successfully converted PDF and PPTX files are listed in the Converted Files section, where you can download them or save them to Google Drive.
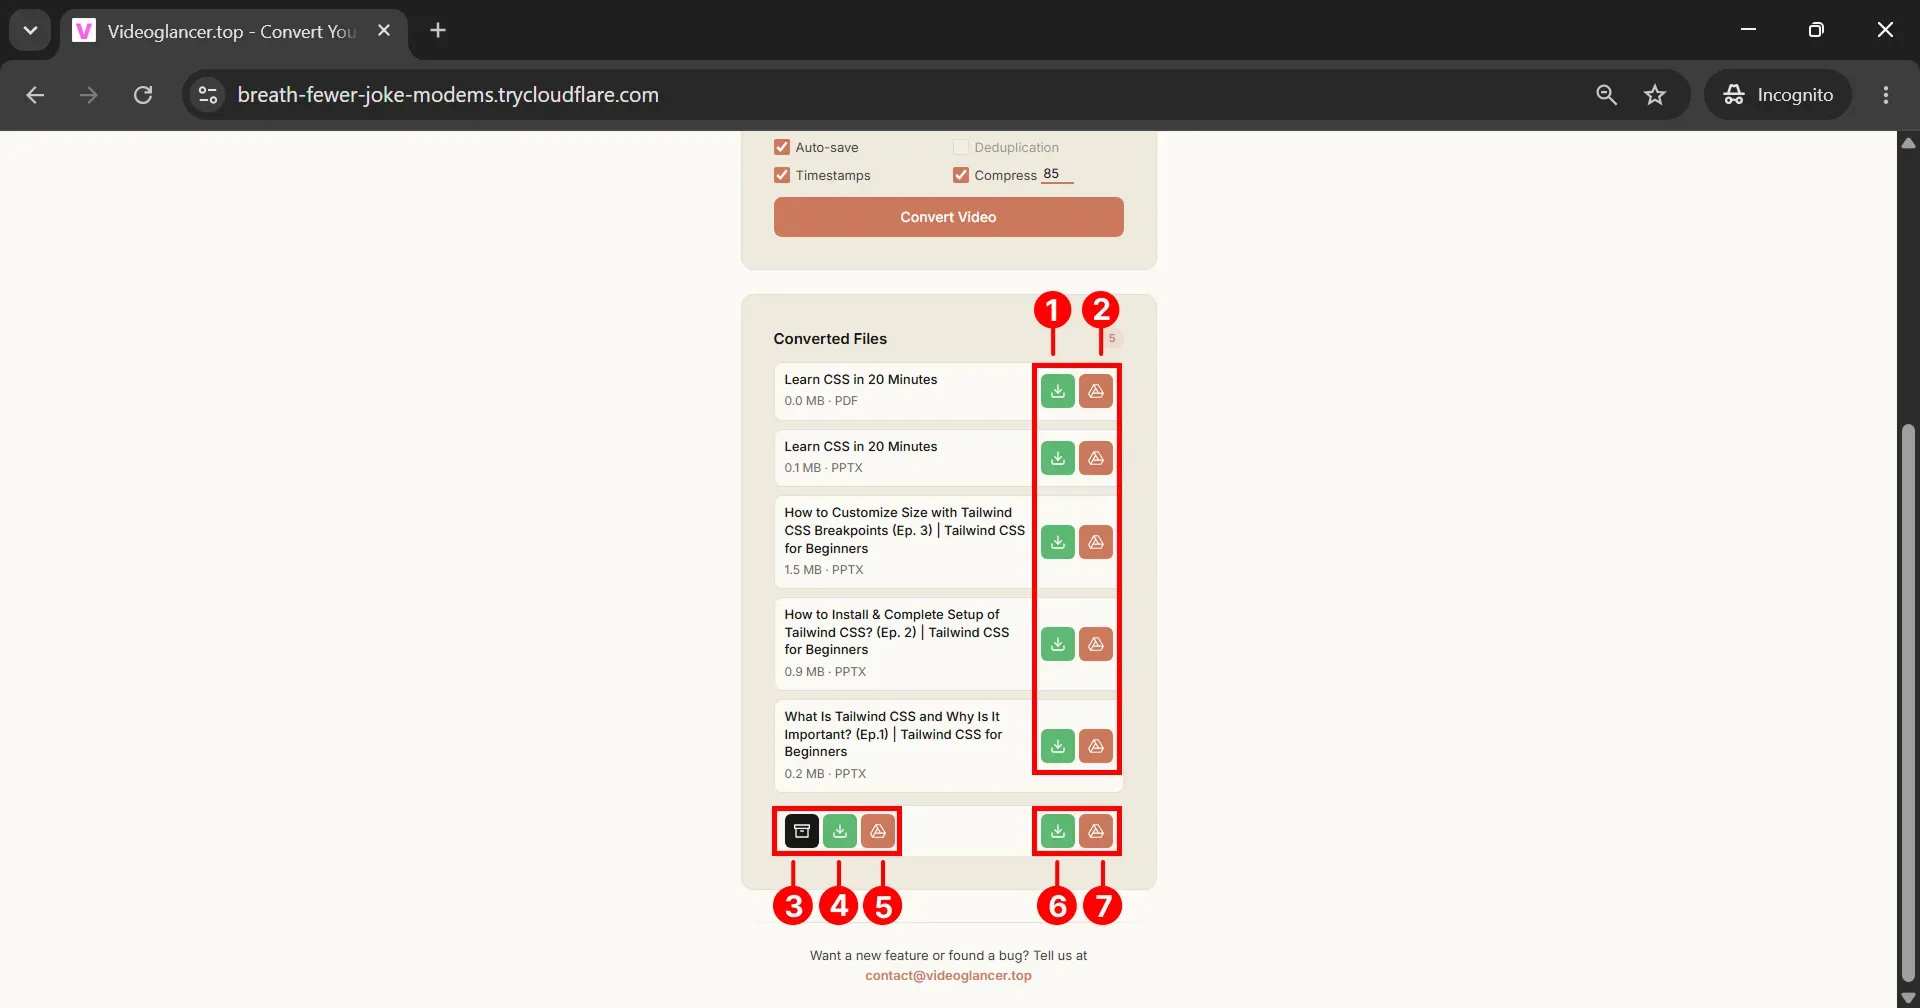
Action Buttons
The buttons labeled with numbers perform the following actions.
- 1 Download Single – Click this button to download that particular file to your system.
- 2 Save Single – Click this button to save that particular file to your Google Drive.
- 3 Create ZIP – Click this button to generate a ZIP file containing all files.
- 4 Download ZIP – Click this button to download the ZIP file to your system.
- 5 Save ZIP – Click this button to save the ZIP file to your Google Drive.
- 6 Download All – Click this button to download all files individually to your system.
- 7 Save All – Click this button to save all files to your Google Drive.
Access Files in Google Drive
Now, visit the Google Drive by opening https://drive.google.com/drive/my-drive in a new browser tab. Make sure you are on the My Drive page in Google Drive.

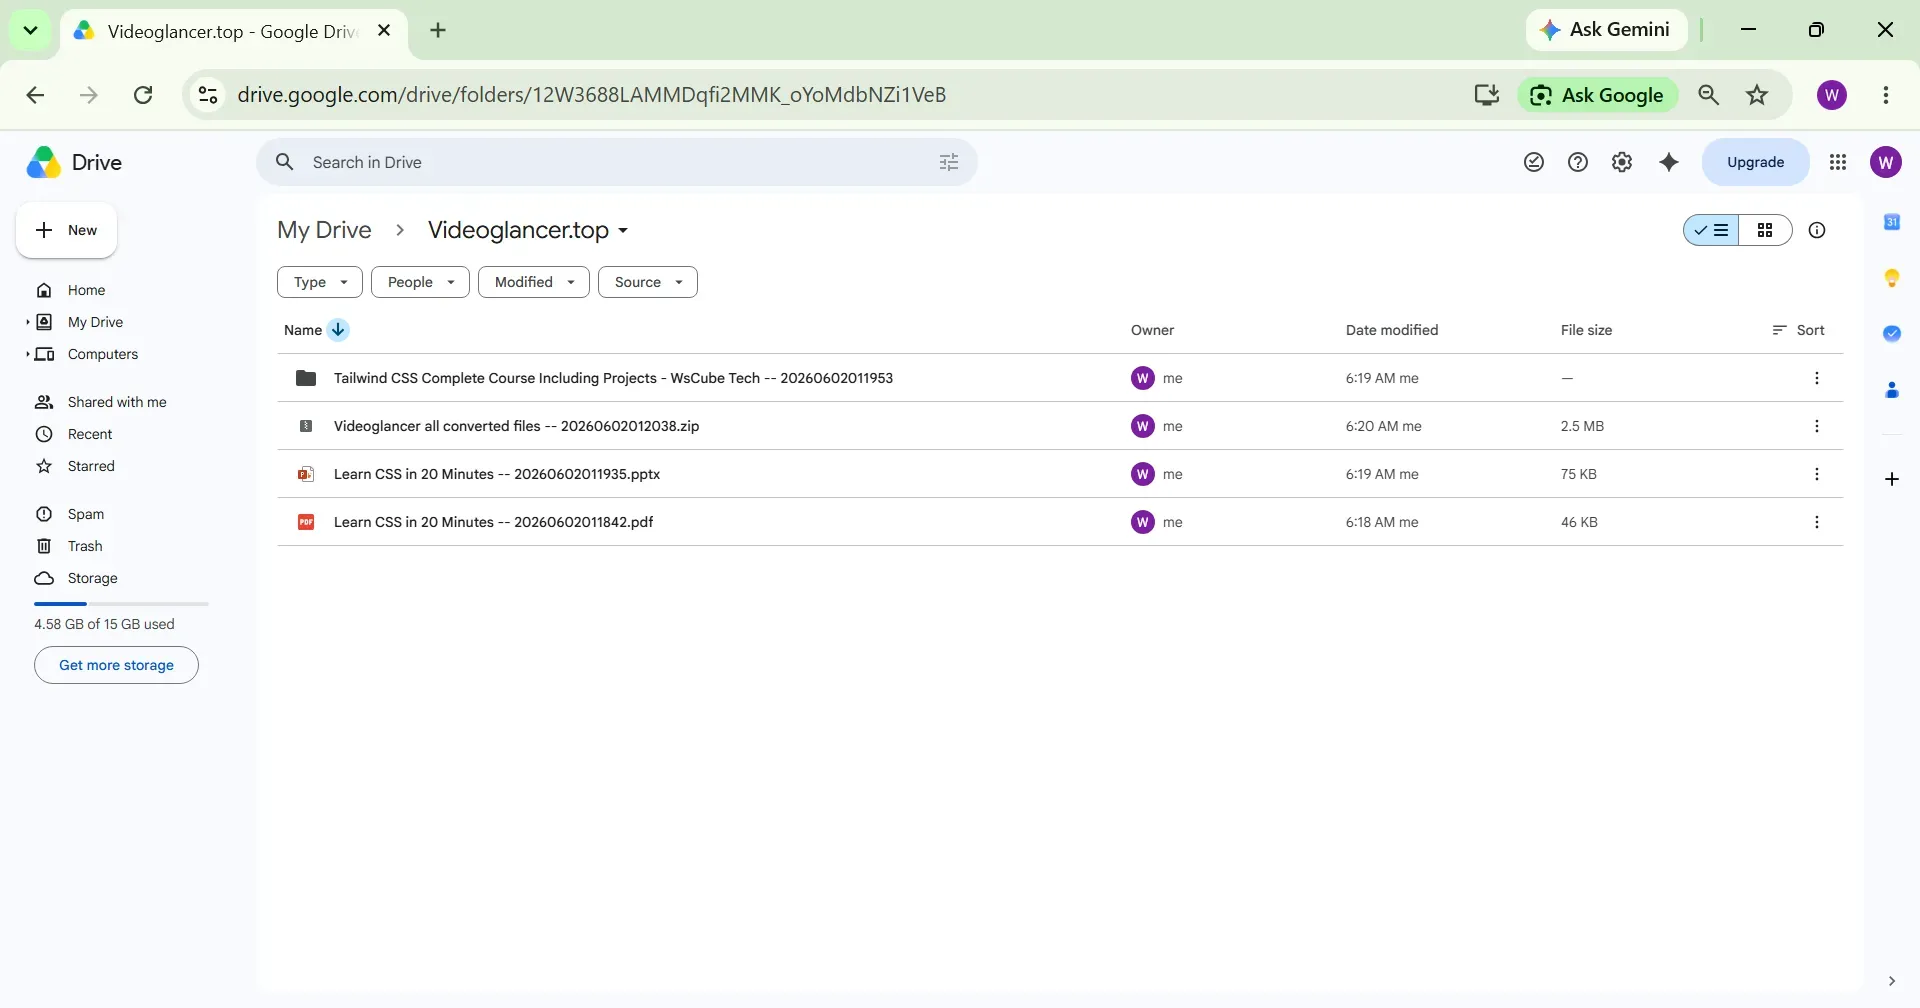
There, you will see a folder Videoglancer.top.
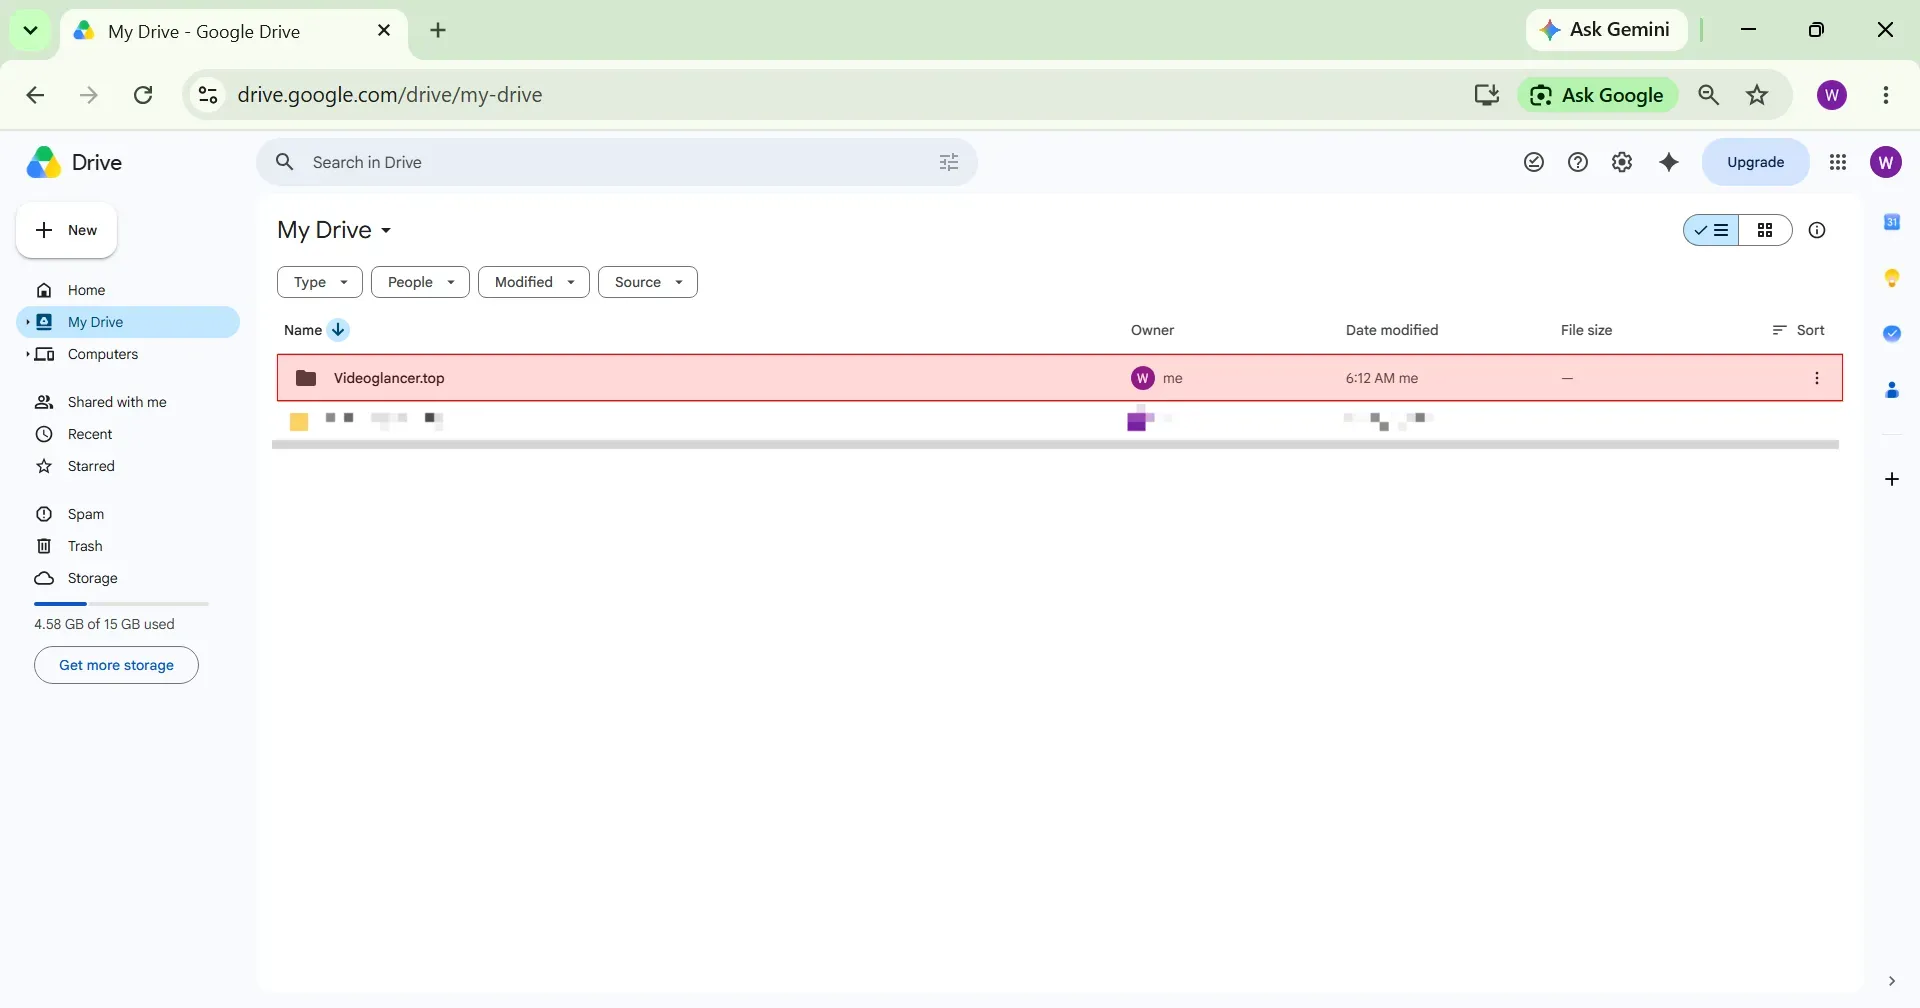
The Videoglancer.top folder contains all the files generated and saved by the Google Colab notebook after converting your YouTube videos. You can open this folder at any time to access your converted files.
Final Notes
Converting YouTube videos to PDFs using Google Colab may take some time, depending on the video size and Google Colab's internet speed. If our site isn't working, this is the best alternative method available. We appreciate your patience!
If you have any question or want new features in that Google Colab Notebook then you can contact us on [email protected].